Make sure you download the source files so you can follow along.
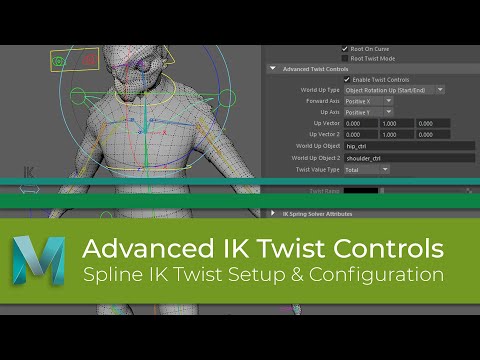
What I want to do with this video is go over how to setup and use Mayas Advanced Twist Tools which are found on the SplineIK handle.
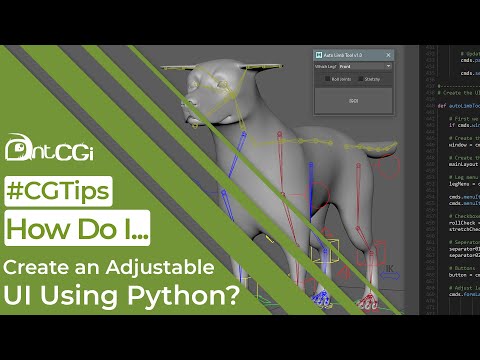
I recently finished working through a series of videos where I introduced you to Python. This was part of the main, Rigging In Maya series and helped us to create an automatic quadruped rigging tool.
Even though I covered lots of areas of scripting, I didn’t get the opportunity to finish the script off and give it a proper user interface.
So what I want to do in this video is take the script and rectify that by showing you how to build a scalable user interface while also making the tool more flexible.
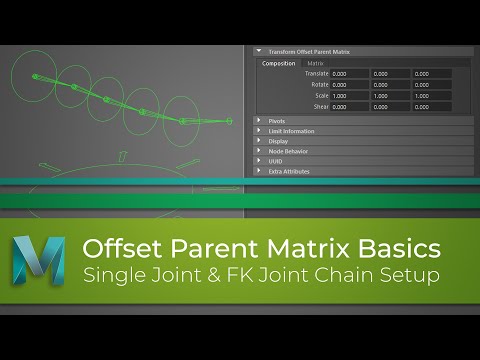
With Maya 2020, Autodesk gave us a whole suite of new rigging attributes and nodes to help make our rigs more economical, and powerful.
One of these is the offsetParentMatrix attribute which in short, offers another level on top of the main transforms meaning we can finally remove the need for all the offset groups that bloat our rigs.
There is obviously so much more to them, but in this video we will go over the basics of how to use them with a joint chain.
I recently finished working through a series of videos where I introduced you to Python. This was part of the main, Rigging In Maya series and helped us to create an automatic quadruped rigging tool.
Even though I covered lots of areas of scripting, I didn’t get the opportunity to finish the script off and give it a proper user interface.
So what I want to do in this video is take the script and rectify that by showing you how to build a scalable user interface while also making the tool more flexible.

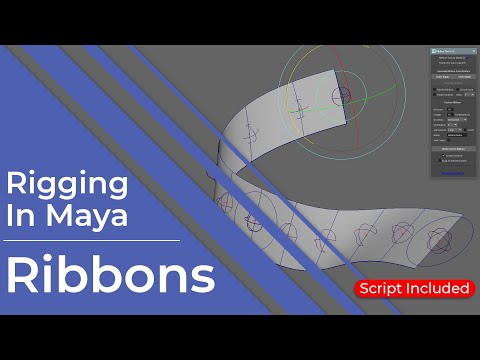
With the release of version 2 of my ribbon creation tool I thought I would include a short video showing you how to use it.
It’s getting quite big now, so I hope this short tutorial will help you get the best from it.
If you don’t have this script yet, you can download it as part of the rewards if you are an antCGI Club member, or its available, like many of my other scripts and assets from my Cubebrush, Ko-Fi, Gumroad and Artstation stores.
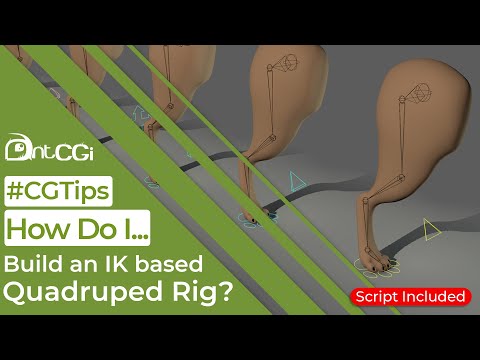
I’ve been doing a lot of research lately into quadruped limbs, mainly because I’m working on a full canine rig as part of my Rigging In Maya series.
There are a handful of different approaches to this type of rig, so I thought I’d share a few with you while also discussing the pro’s and cons of each. Plus, I’ll show which is my personal favourite, and the one I will be using as the base for my course.
Hopefully, demonstrating how to build each will also help when you are choosing the right approach for your own rigs.
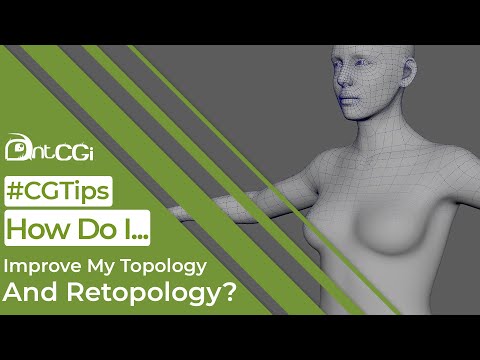
In this tutorial I want to talk about an often-overlooked area of 3D modelling and that’s your models #topology.
What I want to do is have a look at some ways you can improve your topology while also sharing a few techniques for quickly retopologizing your models.
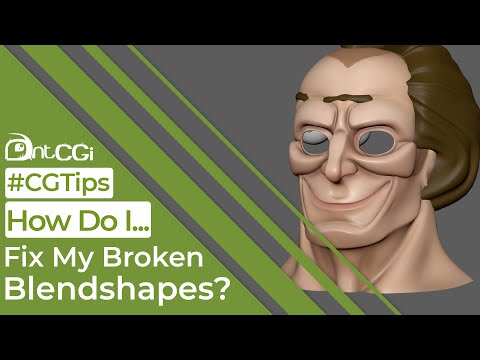
In this tutorial, I show you how to quickly fix the issue where your blendshapes won't follow a joint.
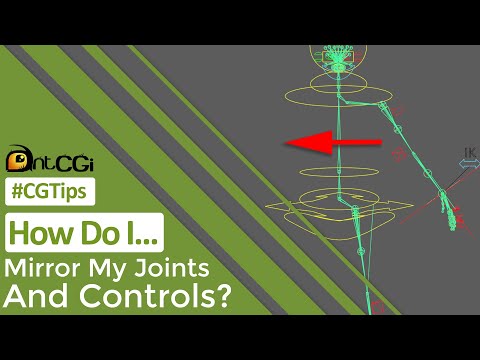
In this tutorial, I share a few ways to quickly mirror your joints and controls from one side of your rig to the other using Maya. I also demonstrate how to create some basic scripts to help with this and future tasks.

In this Maya tutorial, I share a quick and easy way to match your IK and FK limbs, without the need for any complicated script writing.
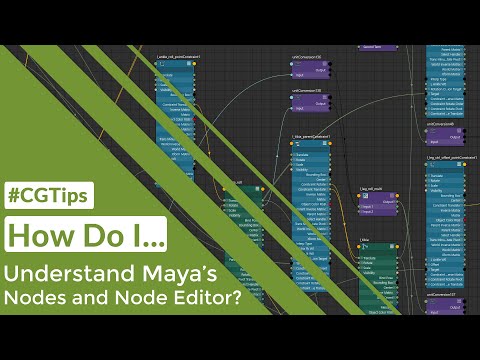
In this Maya tutorial, I attempt to explain what the Node Editor is, and demonstrate how to use it as well as show you how to use a few of my favourite Utility Nodes.
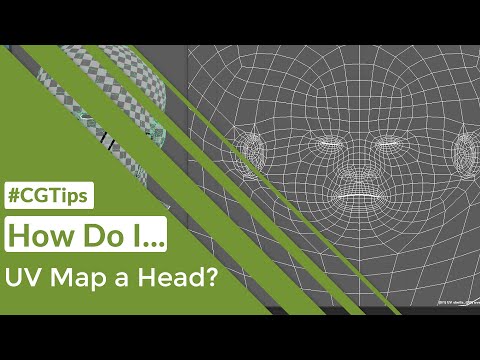
In this Maya tutorial, I show you how to use Maya's UV tools to apply UV mapping to a head model and then edit it to get the best possible layout.
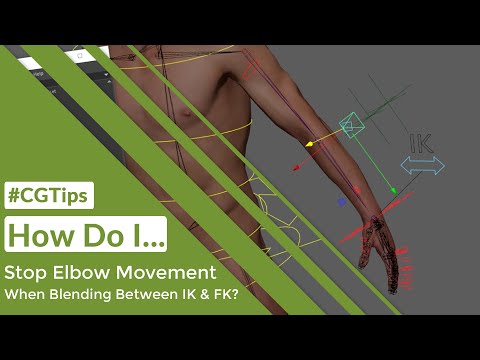
In this Maya tutorial, I show you how to stop your elbow or knee from moving when blending between IK and FK. This often happens when you've added a pole vector constraint and then moved the control back, causing an offset.
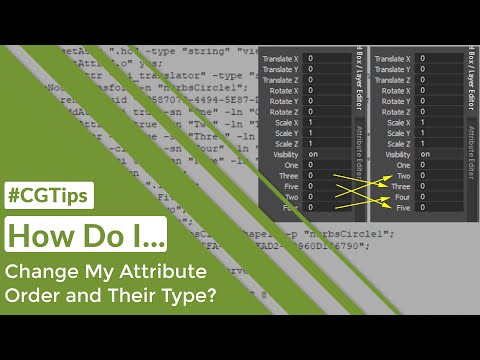
In this Maya tutorial, I show you how you can alter the order of your #attributes, and also change the type. Quickly and easily.
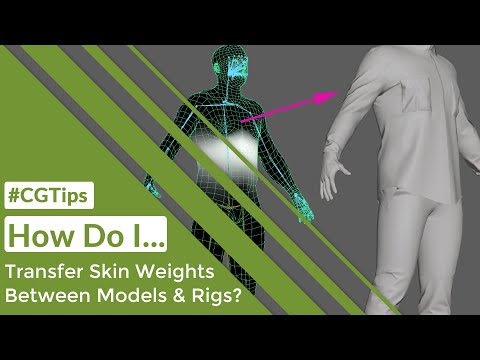
In this Maya tutorial, I show you a few ways to speed up your skin painting workflow. First I demonstrate how to add another model to the same rig and transfer the skin weights across, and then I show you how to copy the skin weights to a different rig, giving you a quick way to jump start your skinning on any model.
We are now on the last part of this miniseries of videos where we look into creating an automatic limb rigging tool. There are other areas of scripting I’d like to cover but I will look into those in future videos.
All we are going to do in this video is add volume preservation which will enhance the overall look of our stretchy limbs.
Now this isn’t strictly something that’s needed for this character, but then again neither are stretchy limbs, but I thought I would include it in the script so you can use it on other characters and creatures you might rig in the future.
Well, when I was looking into these videos, I initially thought we could cover writing this script in just one. How wrong I was!
We are now onto video four and in this one we will automate the creation of the roll joints and the associated systems. This will give us a great automatic limb rigging tool which we can use for this, and other projects.
It will also lead us nicely into the next part of our quadruped rig where we will add the ribbons which the driver joints will ultimately drive.
In videos twenty-one and twenty two we created a script which will automatically rig our quadruped limbs. Now so far this is quite basic as it simply adds the IK and FK functionality into both the front and hind legs.
What I want to do with this video is take the script further and make the limbs stretchy.
Again, because we are picking up from where the previous video left off its highly recommended that you watch the first two before this one.

In the previous video we began writing a script which will #automatically rig a quadruped limb for us.
We’d got to the point where we’d created all the main joint chains, so let’s continue with that now as we add in the IK and FK functionality.
Because we are picking up directly from video twenty-one, I would highly recommend you go back and watch that tutorial before starting on this one.

This video was originally going to cover adding the IK and FK controls into the limbs of our dog, but I decided to take another approach.
I’ve covered basic IK FK blending before, plus I recently released a video showing different quadruped rig configurations, so I didn’t want to just repeat myself and take you through things I’ve shown before.
If you would like to refer to those videos there are links in the description below.
As this is a more advanced section of rigging, I decided that I would instead introduce you to some scripting.
So, as well as building the IK FK legs, I will show you how to automate the process.
So, over the next few videos. you will essentially be creating your own #automatic limb rigging tool.
Well, we’ve come a long way over the course of these thirty-seven videos.
My plan with this series was to create something that would take someone with no rigging knowledge and show them how to build a rig in Maya, starting with the basics and working up to more advanced systems.
So essentially, after following all these videos you would be ready to rig anything.
And here we are, two years after I started recording putting the finishing touches to the quadruped rig.
Its been fun but before we all get emotional, lets go over the rig, updating the controls and locking things down so this dog can finally be animated.

I had planned for this to be the final video in the series, but before we move on and finalise the rig we need to add root control support, so the dog can be scaled, rotated and positioned in the scene.
We also need to double check the rig for any potential bugs and eliminate those before we move on.
We are almost there!

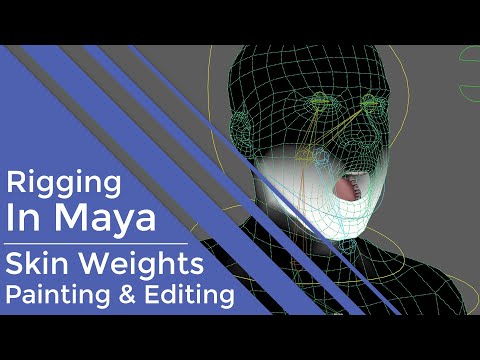
All the main systems are in place so its time to start thinking about making them move the model. So in this video we are going to look at skinning and editing skin weights.
The difference with the approach this time is we are going to look at how to use ngSkinTools, which is a popular skinning plugin, and something I’ve been asked to cover many times before.
Now don’t worry if this isn’t something you are interested in, many of the techniques shown in this tutorial can be transferred to Maya’s native weight painting tools.
We are getting dangerously close to finishing this rig, and this series. Once this section is complete, all we need to do is skin him, add in root control support and lock him down and then he is ready to be animated.
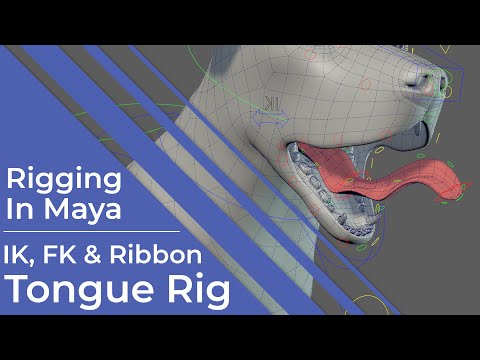
Lets not waste any more time, lets jump in and rig the tongue, and with an animal like a dog or a cat, this is an import area as its in use most of the time.

We only have one more area we need to rig and that’s the dogs facial features. These include the lips, eyes and his nose.
For some of these the rig is relatively simple needing just a joint, a control and a constraint.
With the rest we will be using ribbons to help add more fluidity to the face, allowing for more natural looking poses.
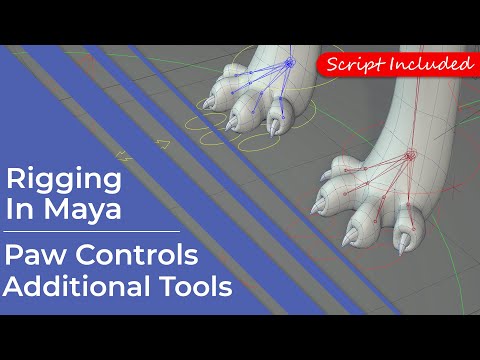
All we are going to do in this video is continue setting up the paw controls, adding more functionality to them and giving the animator more to work with.
In addition to this we will add to the systems we have already created, allowing for some customization over how the paw moves and its key poses.
We now only have a few more areas to rig on this dog and then we can move onto the skin weights and adding support for the root control.
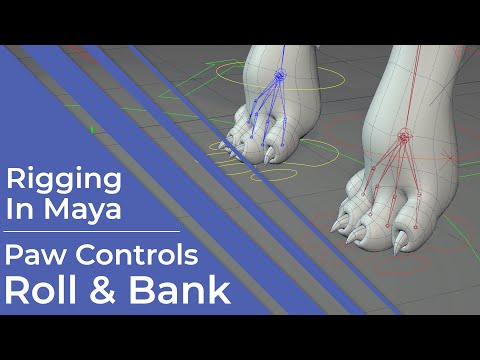
First lets move back to the legs and add in the paw controls, and these will be a mixture of FK and IK controls.
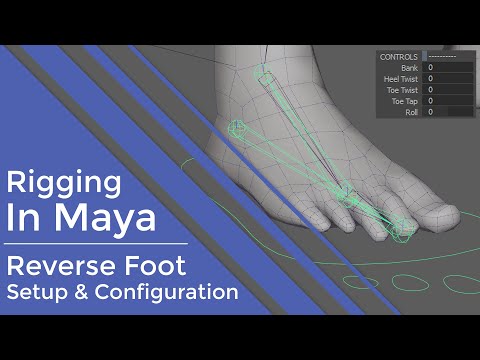
In this first video we will focus on setting up the foot and then adding the foot roll and bank functionality, using nodes rather than set driven keys for maximum efficiency and flexibility.
We will then continue the setup in the next video adding more controls for the animator, plus some extra configuration options for us to use while setting up the rig.
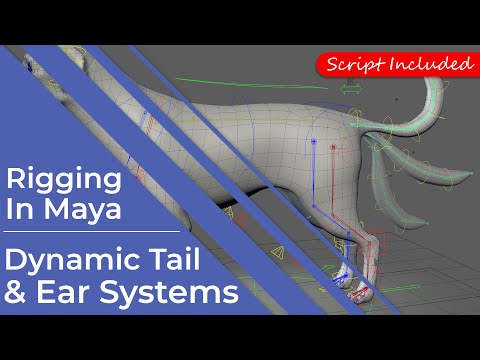
Wow, thirty videos so far…If you’ve watched them all up to now then I want to say a huge thank you for sticking with me.
What we are going to do in this video is rig the tail and ears, and to do this we will give the animators a choice of working in either FK, IK or to use a posable, dynamics simulation to automate the movement.
We now have a basic spline IK based spine but there's till lots of work to do on it, so in this video we will add the finishing touches.
These include squash and stretch, advanced options for the middle of the spine and also a quick update so we can change the curvature of the spine.
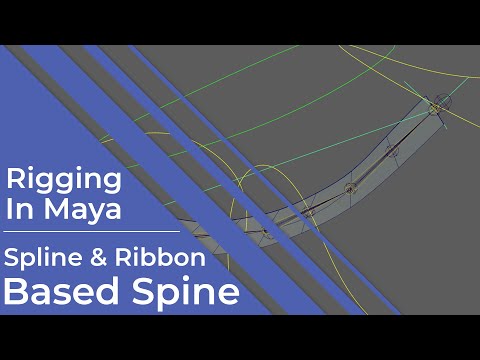
The legs are now pretty much done, so in this video we will look at setting up the spine.
To do this we won’t just be relying on a ribbon to help drive the model, we will also be calling upon Mayas IK spline tool too to give us maximum flexibility.
Now although this setup will be used on a dog spine, it can also easily be adapted to be used on a more traditional, biped rig too.
In fact, we will be using a similar setup to rig our dogs neck too.
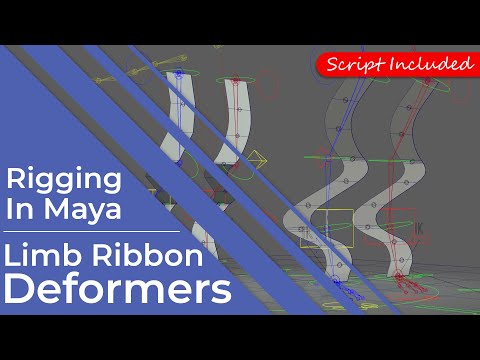
We now have a ribbon driving our joints which gives us a good foundation to build upon, but we can push it further.
In this video we will investigate adding deformers which will bring a new level of flexibility to our rig.
Now to be honest, this isn’t really suited to this character and would normally be used on a more cartoon style creature, but there are elements which will help bring an extra level of realism to this rig as it animates, things like my basic muscle simulation for example.
You can also see this video as a starting point too, and once you grasp the basic idea behind this setup you can add more and build onto it in the future.

Over the last few videos, we got a little distracted with some scripting, but I hope they helped to introduce you to Python and show how useful even some basic knowledge is.
Some of you may be happy to know though that we are back to doing things manually, and in this video, we are finally going to build the #ribbons and controls which our driver joints will influence.
The idea is that using ribbons as a base will make the rig more flexible and open up more options for the animator.
We are now on the last part of this miniseries of videos where we look into creating an automatic limb rigging tool. There are other areas of scripting I’d like to cover but I will look into those in future videos.
All we are going to do in this video is add volume #preservation which will enhance the overall look of our stretchy limbs.
Now this isn’t strictly something that’s needed for this character, but then again neither are stretchy limbs, but I thought I would include it in the script so you can use it on other characters and creatures you might rig in the future.
Well, when I was looking into these videos, I initially thought we could cover writing this script in just one. How wrong I was!
We are now onto video four and in this one we will automate the creation of the roll joints and the associated systems. This will give us a great automatic limb rigging tool which we can use for this, and other projects.
It will also lead us nicely into the next part of our quadruped rig where we will add the ribbons which the driver joints will ultimately drive.
In videos twenty-one and twenty two we created a script which will automatically rig our quadruped limbs. Now so far this is quite basic as it simply adds the IK and FK functionality into both the front and hind legs.
What I want to do with this video is take the script further and make the limbs stretchy.
Again, because we are picking up from where the previous video left off its highly recommended that you watch the first two before this one.
In the previous video we began writing a script which will automatically rig a #quadruped limb for us.
We’d got to the point where we’d created all the main joint chains, so let’s continue with that now as we add in the IK and FK functionality.
Because we are picking up directly from video twenty-one, I would highly recommend you go back and watch that tutorial before starting on this one.
This video was originally going to cover adding the IK and FK controls into the limbs of our dog, but I decided to take another approach.
I’ve covered basic IK FK blending before, plus I recently released a video showing different quadruped rig configurations, so I didn’t want to just repeat myself and take you through things I’ve shown before.
If you would like to refer to those videos there are links in the description below.
As this is a more advanced section of rigging, I decided that I would instead introduce you to some scripting.
So, as well as building the IK FK legs, I will show you how to automate the process.
So, over the next few videos. you will essentially be creating your own #automatic limb rigging tool.
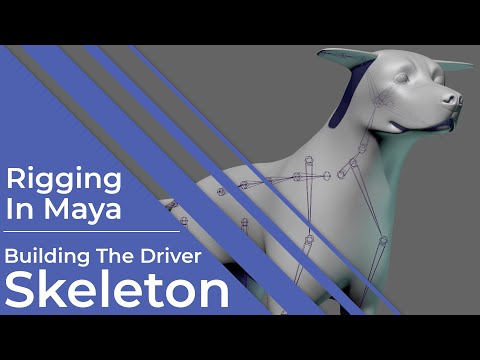
We have the model ready to go so let’s start to look at building our quadruped rig.
In this video we will investigate creating the driver #skeleton, but this won’t be used to directly effect the model.
Instead think of this as the actual bones of the dog, so these will instead drive other systems, so in this case it will be the ribbons. These will then act like the muscles which will in turn manipulate the skin.
Taking this approach will give us more flexibility with this rig, and make animation easier and more organic.

Before you build any rig its important that you take some time to check the model you’re working with, while also making a plan of how to approach the rig itself.
So, in this video I want to talk through some key areas you need to check before you create your first joint. We will also come up with a plan of action for the canine model we will be rigging over the next series of videos.
You have now covered all the basics so should be able to build your own biped rig. So that’s the first section of this course complete and it only took seventeen videos to do it!
As we move into more advanced areas of rigging, I thought we would need a new creature to rig, something with a higher polygon count and that can be more geared towards film and TV rather than games. So I’m currently working on something special for you and I will post updates in the community feed.
Before we begin rigging the new creature, I wanted to cover a key part of the rig, and that’s what’s known as the ribbon.
I will be using these a lot throughout the next section of this course so it made sense to dedicate this first video to them, that way I am not repeating myself and if you are unsure you can just refer back here.
I also have a nice surprise for you :)
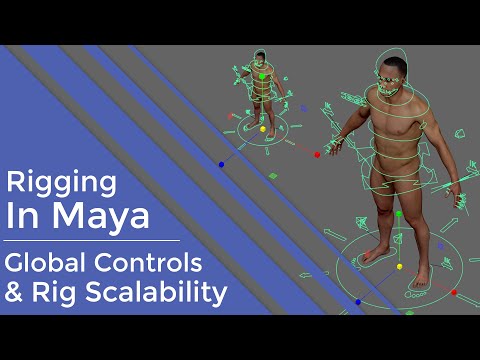
We’ve come a long way, so thanks for sticking with me. What we are going to do in this video is finalise the rig you’ve built over the past sixteen videos, giving the animator the ability to move it globally while also adding letting them scale him fully too.
We will also investigate locking the rig down, making it bulletproof so the animator can’t accidentally break it, which is an important step.
Now this may be the last time we look at this guy here, and I’m sure some of you are sick of seeing him, I know I am! I started this series a year ago now, so I’m looking forward to moving onto another character and sharing some more advanced techniques with you in the future.
Ok, lets finish this rig!
It may look like we have a completed rig but there is still a lot we need to do before its ready to be passed to an animator.
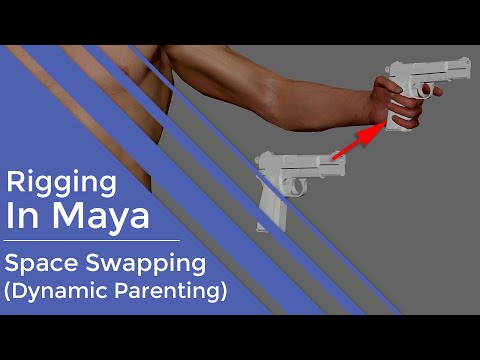
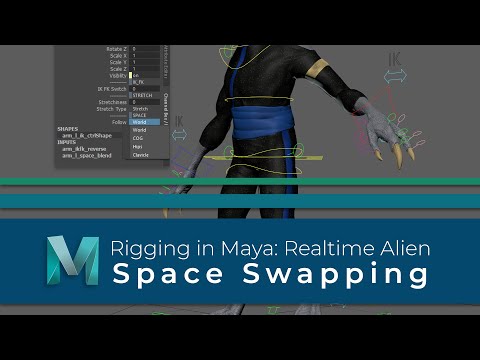
In this video I want to talk about space swapping, or switching depending on what you like to call it, and how it’s a fundamental part of any rig. I also want to show you a few ways to approach adding this functionality into your rig.
Previously, in video fourteen, we explored #blendshape creation as we built all the main shapes we need to animate this guys face.
What we are going to do now is connect the controls to these shapes, in effect driving them, while also making for a simpler and more user friendly experience for the animator.

In the previous video we looked at building a joint based facial rig, complete with all the controls needed to animate it.
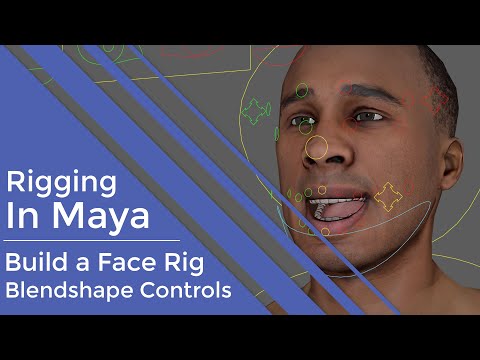
What we are going to do now is take a step back and rebuild the face rig but instead of using joints we will be using blendshapes.
Rather than just focus on the shape editor I also want to investigate some other options which could help speed up your shape creation.
In addition to this, I also want to share a technique I regularly use to help divide an area, like the lips, into sections but this is also future proof if the base shape changes. So, in effect you will be building a blendshape generator.
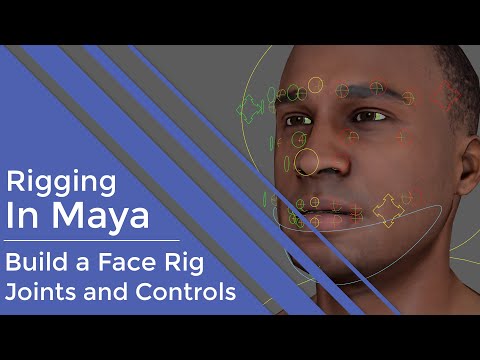
All we are going to do in this video is continue on from the previous one where we built the joints and controls for this joint based face rig.
If you want to see how we got to this stage then please check out the previous video.
So, as mentioned, we now have all the joints in position and orientated correctly, we also have all the controls ready.
All that’s left to do is wire these up so the controls drive the joints.
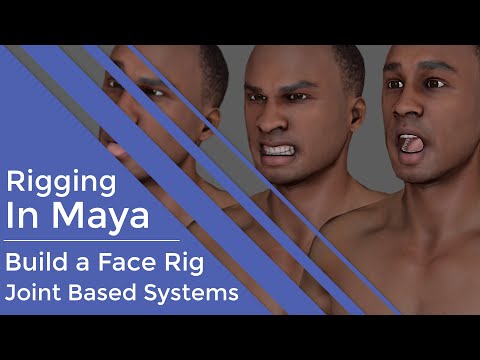
All that's left to do with this character is give him the ability to talk and show emotions, so in this video we will begin to build his Face Rig.
First off we will look at a joint based rig and in this video we will setup the base joints and controls, before adding the systems and attaching it to the model in the next video.
I will also be building a full blendshape based rig in a future video too.
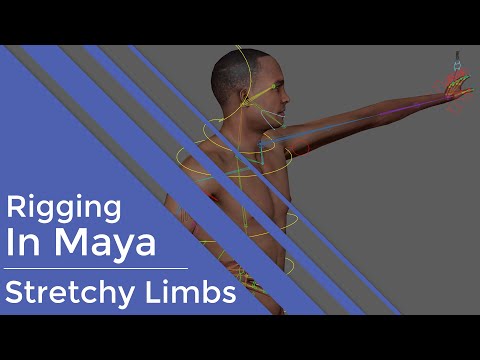
While we are working on the limbs lets now look into adding some squash and stretch functionality, to make the character even more flexible.
Also, make sure you look out for details on how you can download an automatic limb rigging tool I created, just for you.

You have now built a basic rig and could happily animate this guy, so you have all the knowledge to go on and rig your own characters.
The problem is this is exactly that, a basic rig. Don’t get me wrong, working through these videos has given you the foundations to now build upon but the rig does have issues.
If you look at the way the shoulder rotates for example, it seems fine around the Z and X axes but when you rotate around the Y axis it deforms badly. Ideally it should twist around the upper arm not the shoulder so in this video we will be adding what’s known as roll joints, not only to help the shoulder but the wrist, thigh and ankle too.
We are now dangerously close to having a fully rigged character. We’ve built the skeleton and added a basic rig, so all we need to do now is attach the model and work on painting the #skinweights so it will deform and can be animated.
And that’s what we are going to explore in this video.
We are now in the final stages of building this basic rig. As you can see, I now have the limbs created and rigged on both sides of the character.
We have full foot control, including the foot bank and the foot roll plus both arms rigged and ready to go.
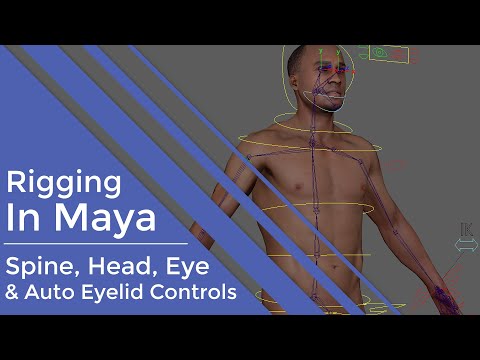
What we need to do now is create a #spine rig and connect the limbs to it, in addition to this we also need some basic controls for the head, eyes and jaw.
Now remember that the idea behind these initial videos is to get you up to speed with the very fundamentals of rig creation. Yes, this rig is very basic and when we come to attach the model to it and paint the skin weights in the next video, you will start to see some of its limitations.
We will however address these in future videos.
In the previous video we looked at adding some basic controls to the hand joints, so to follow that up lets now look at adding more functionality into the foot.
At present all we can do is rotate and translate the foot as a whole, what would be ideal is if we could also give the animator more control over the heel and toe, plus lets add in a full foot roll to make walk and run cycles easier to accomplish.

We have now started to build our basic rig. It has two limbs both with IK and FK functionality and the ability to blend between the two states. If you want to see how these were built then please check out the previous video in this series.
Even though we can pose the #hand and the foot, we can’t do anything else with them, so it makes sense for us to now look into rigging those.
So in this video we will look at adding controls to the fingers and also the metacarpal joints we added previously to give the hand much more flexibility.

Over the last four videos we looked at the fundamentals behind any rig, so now its time to move on a step and start to investigate some of the basic systems.
In this video we will take everything we’ve learned so far and put it to the test as we build arm rig. Not only will this include the joints and controls, but it will be the perfect opportunity to look at Inverse and Forward Kinematics, also known as IK and FK, while creating a rig which will blend seamlessly between them.

We’ve covered a lot so far but before we start to look at more advanced areas like Inverse Kinematics lets take a deeper look into more ways to connect and control elements of your rig.
In the last video we looked at direct connections but sometimes you need more flexibility when driving one attribute with another. So what we will look at in this video are Set Driven Keys and Utility Nodes and discuss which to use to get the best results.
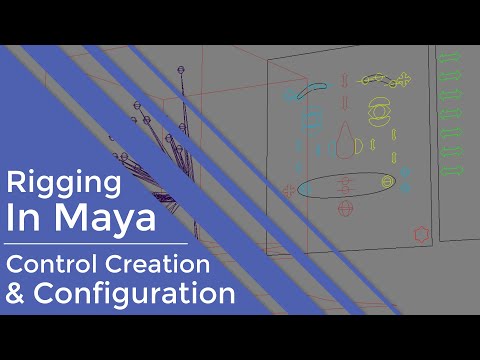
We have now discussed joints and connections so to follow this I want to talk you through the various options involved in control creation and setup.
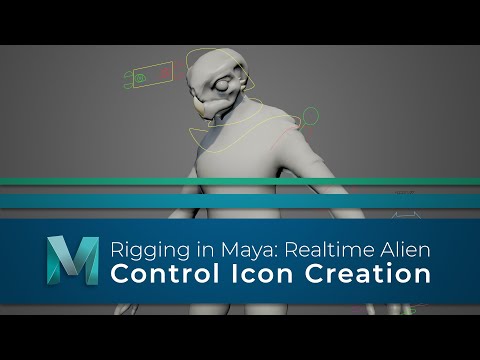
In this video we will look at control handles and also how to create and edit your own custom control icons. We will also look at setting up the #controls to get the best performance.
Previously we looked at joint creation as well as some of the key elements and attributes you will need to be aware of when building your skeletons.
The natural step to follow on from this would be to begin looking into controlling those joints. Ideally, with any rig, you don’t want the animator to be able to directly select the joints, they should be hidden away and instead controlled with custom icons or other attributes.
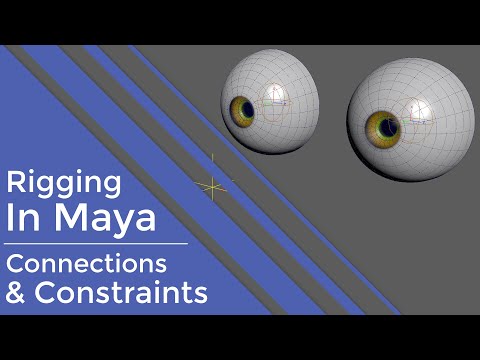
We will be discussing how to create custom control icons in the next video, but those controls need to be able to drive the joints, so in this video we will be talking about the various connections and #constraints you can use to achieve this.
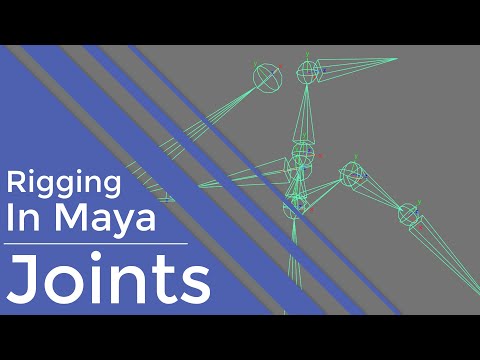
Hello and welcome to a new series where I explore rigging in Autodesk Maya.
The plan is to take things back to basics as I go through each element separately, so you get a clearer understanding of the whole process. Once the fundamentals have been covered, I will then move on to more advanced systems so by the end you will have all the tools you need to build your own complex rigs.
For the first video I wanted to go right down to the #fundamentals of any rig and focus entirely on the nodes used in the construction of the skeleton and those are the #joints.
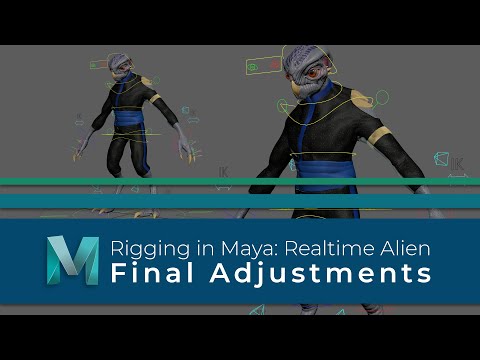
Ok, here we go, this may be the final video, but it could also be one of the most important with regards to making the rig animator friendly.
We have all the main controls in and working now, but before we pass it on to be animated we have to make sure the rig is #scalable and also lock everything down so it can’t be broken.
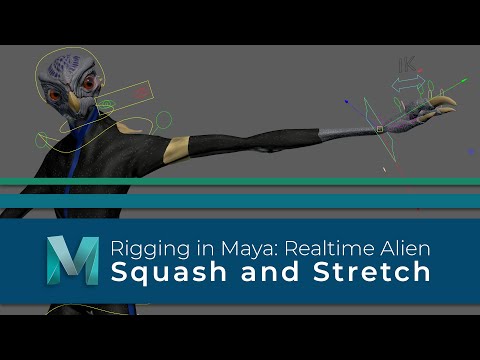
We are slowly getting closer to a complete rig, and in its current state we could pass this onto an animator, and they can begin to bring life to this creature.
However, before we do, we are going to do is add in some extra functionality by making the characters limbs and torso more flexible, with some squash and stretch.

We now only have two more areas to rig before the main creature rig is built, and those are the clavicles and fingers.

We have just a few more areas to cover before this rig can be passed to an animator, and one of the more important is the foot.
So, in this video we are going to add more functionality so poses are easily achievable.
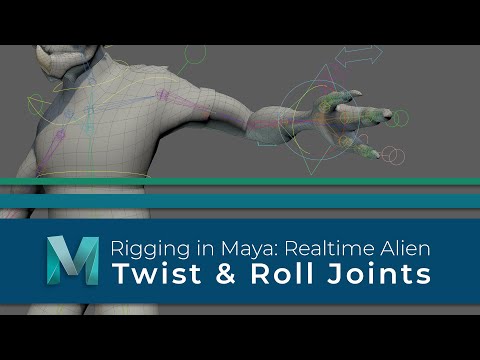
We have the limbs rigged and have also added in some space swapping options to give the animator more flexibility. Lets turn our attention now to the twist joints which will help improve the deformation in our limbs.
The arms, legs and torso are now rigged but before we move on we are going to look into some space swapping options. We will use Maya’s matrix nodes to add the option to swap between two parents, and also multiple parents.

The FK limbs are now working so the animator can pose and animate the creature using forward kinematics.
What we are going to do next is also give them the option to work in IK, or inverse kinematics.
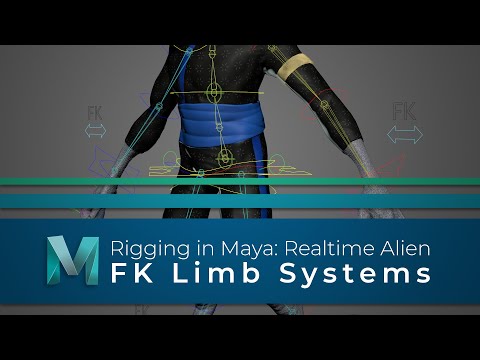
Now the spine head and neck are rigged let’s turn our attention to the limbs and first we are going to wire up the FK #controls.

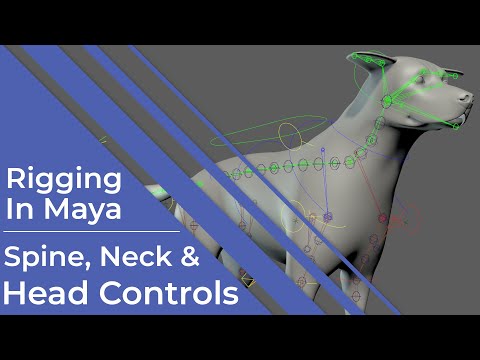
With the spine rigged it makes sense for us to continue working our way up and rig the neck, head and #eyes.
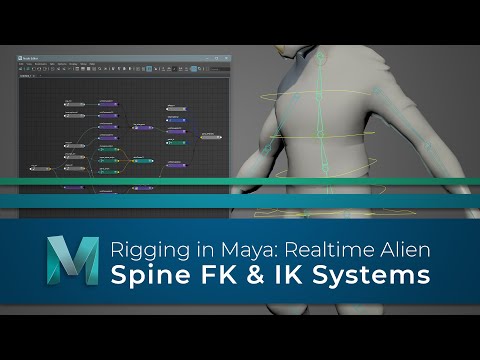
We have the controls, and the control joints are in place, so let’s build the main spine rig.
For this character we are going to give the animator both IK and an FK controls, but with the IK spine we are going to use spline IK.
It’s about time we started to tackle some of the systems which the controls will drive.
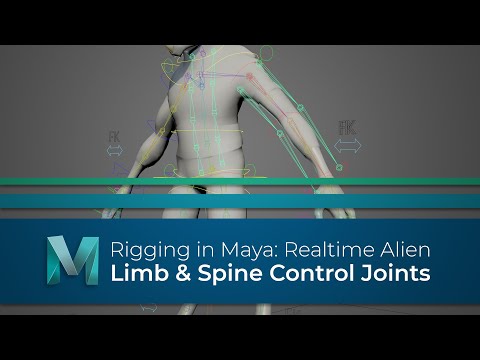
As this is a game rig, we want the base skeleton to be left as clean as possible so what we are going to do next is create a series of control joints. These will give us a cleaner rig, especially when it comes to exporting.

We have the controls now so we are a step closer to being able to build the systems which will drive the joints.
Before we do that, we are going to make sure the scene is organised correctly and that the controls have the custom attributes we need.
The model now deforms with the skeleton, which will allow us to visualize how the controls are affecting the joints as we build the control rig.
Ideally, we don’t want the animator to be able to touch this skeleton though, instead we need a layer of controls on top of this which will drive the joints.
So, in this video we will explore the many options Maya has to create controls.
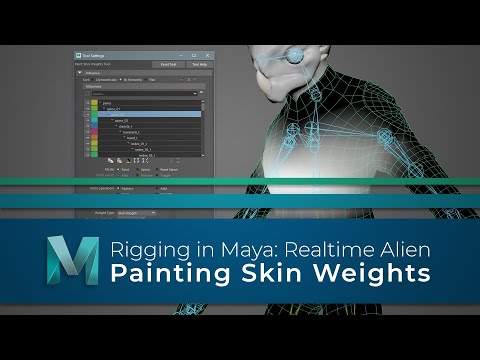
We have the skeleton, and the model is now skinned, so next let’s take a look at updating the skin weights, so it deforms in a much more natural way.
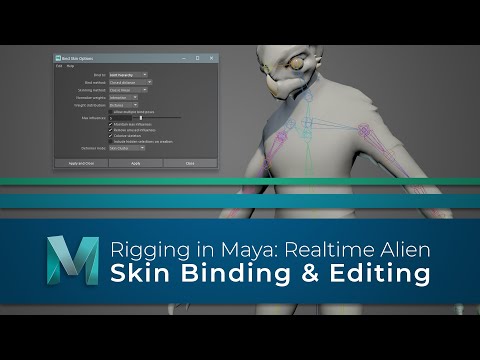
You now have the skeleton ready so let’s look at making it drive the model. In this video we will explore Maya’s skin binding options, as well as looking at how you can edit the weights once the model is skinned.
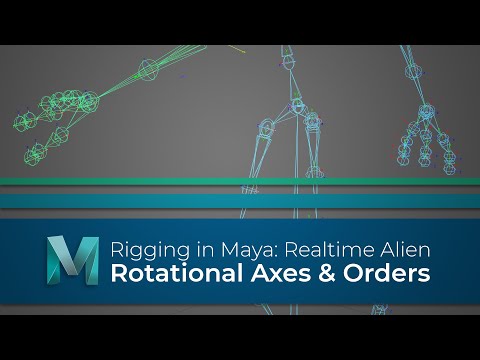
You now have one half of the skeleton built and positioned, but we aren’t ready to skin the models just yet. In this video we are going to make sure the rotational axes and rotate #orders are all setup and once they are, we can then safely move on and look at making this skeleton drive the creature model.
It’s important to get a good understanding of how joints work in Maya and realise that there is a lot more to them than nodes which push the vertices around. So, before we start to build the skeleton which will drive our model, lets look at the fundamentals of Maya’s joints.
Over the duration of this course, I will walk you through the process of creating a realtime rig, which can be animated and exported to a game engine, like unreal.
We will take a prebuilt model, and explore the fundamentals of model preparation, joints and skeleton building before we move on to skinning and painting weights. After that we will focus on creating the controls and systems which will allow the animator to breathe life into him.
What is more, where possible, we will also be building this rig using Mayas new offset parent matrix attributes and matrix nodes to make it more robust and efficient.
Before you start any rigging work it’s important that you examine the model thoroughly to make sure the topology will deform correctly, so in this video we will examine our creature model and discuss what areas need to be updated.

