Make sure you download the source files so you can follow along.

Over the last four videos we looked at the fundamentals behind any rig, so now its time to move on a step and start to investigate some of the basic systems.
In this video we will take everything we’ve learned so far and put it to the test as we build arm rig. Not only will this include the joints and controls, but it will be the perfect opportunity to look at Inverse and Forward Kinematics, also known as IK and FK, while creating a rig which will blend seamlessly between them.

We have now started to build our basic rig. It has two limbs both with IK and FK functionality and the ability to blend between the two states. If you want to see how these were built then please check out the previous video in this series.
Even though we can pose the #hand and the foot, we can’t do anything else with them, so it makes sense for us to now look into rigging those.
So in this video we will look at adding controls to the fingers and also the metacarpal joints we added previously to give the hand much more flexibility.
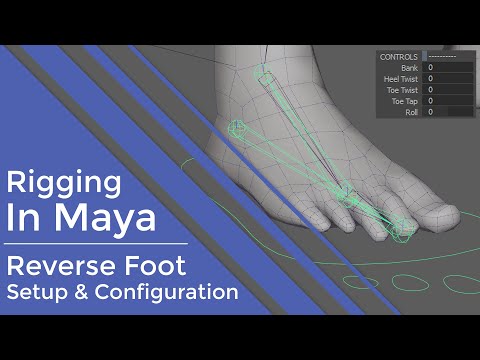
In the previous video we looked at adding some basic controls to the hand joints, so to follow that up lets now look at adding more functionality into the foot.
At present all we can do is rotate and translate the foot as a whole, what would be ideal is if we could also give the animator more control over the heel and toe, plus lets add in a full foot roll to make walk and run cycles easier to accomplish.
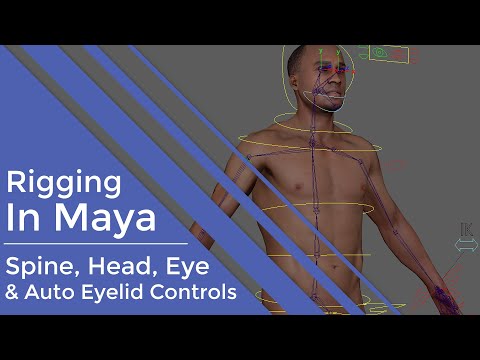
We are now in the final stages of building this basic rig. As you can see, I now have the limbs created and rigged on both sides of the character.
We have full foot control, including the foot bank and the foot roll plus both arms rigged and ready to go.
What we need to do now is create a #spine rig and connect the limbs to it, in addition to this we also need some basic controls for the head, eyes and jaw.
Now remember that the idea behind these initial videos is to get you up to speed with the very fundamentals of rig creation. Yes, this rig is very basic and when we come to attach the model to it and paint the skin weights in the next video, you will start to see some of its limitations.
We will however address these in future videos.
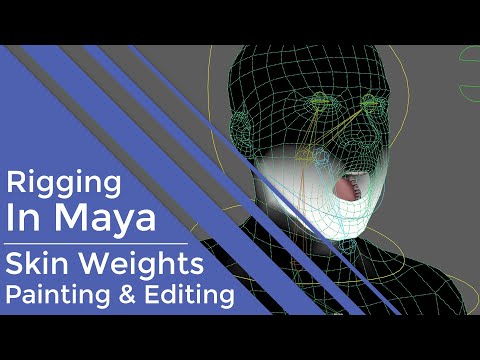
We are now dangerously close to having a fully rigged character. We’ve built the skeleton and added a basic rig, so all we need to do now is attach the model and work on painting the #skinweights so it will deform and can be animated.
And that’s what we are going to explore in this video.

You have now built a basic rig and could happily animate this guy, so you have all the knowledge to go on and rig your own characters.
The problem is this is exactly that, a basic rig. Don’t get me wrong, working through these videos has given you the foundations to now build upon but the rig does have issues.
If you look at the way the shoulder rotates for example, it seems fine around the Z and X axes but when you rotate around the Y axis it deforms badly. Ideally it should twist around the upper arm not the shoulder so in this video we will be adding what’s known as roll joints, not only to help the shoulder but the wrist, thigh and ankle too.
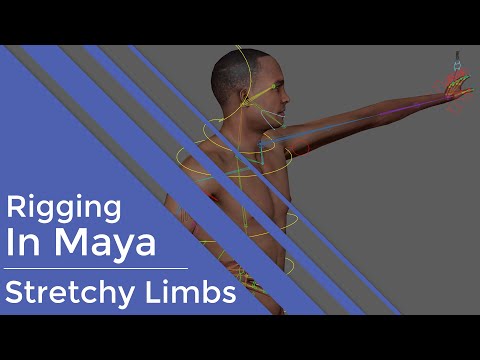
While we are working on the limbs lets now look into adding some squash and stretch functionality, to make the character even more flexible.
Also, make sure you look out for details on how you can download an automatic limb rigging tool I created, just for you.
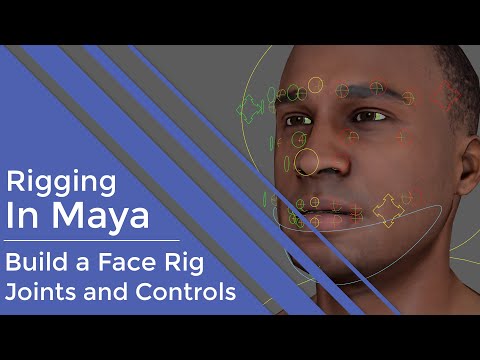
All that's left to do with this character is give him the ability to talk and show emotions, so in this video we will begin to build his Face Rig.
First off we will look at a joint based rig and in this video we will setup the base joints and controls, before adding the systems and attaching it to the model in the next video.
I will also be building a full blendshape based rig in a future video too.
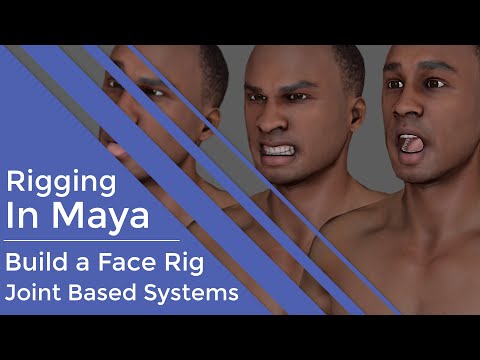
All we are going to do in this video is continue on from the previous one where we built the joints and controls for this joint based face rig.
If you want to see how we got to this stage then please check out the previous video.
So, as mentioned, we now have all the joints in position and orientated correctly, we also have all the controls ready.
All that’s left to do is wire these up so the controls drive the joints.

In the previous video we looked at building a joint based facial rig, complete with all the controls needed to animate it.
What we are going to do now is take a step back and rebuild the face rig but instead of using joints we will be using blendshapes.
Rather than just focus on the shape editor I also want to investigate some other options which could help speed up your shape creation.
In addition to this, I also want to share a technique I regularly use to help divide an area, like the lips, into sections but this is also future proof if the base shape changes. So, in effect you will be building a blendshape generator.
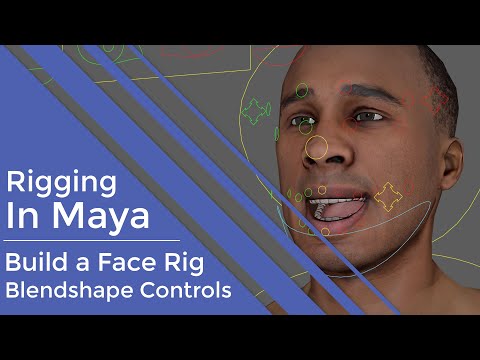
Previously, in video fourteen, we explored #blendshape creation as we built all the main shapes we need to animate this guys face.
What we are going to do now is connect the controls to these shapes, in effect driving them, while also making for a simpler and more user friendly experience for the animator.
It may look like we have a completed rig but there is still a lot we need to do before its ready to be passed to an animator.
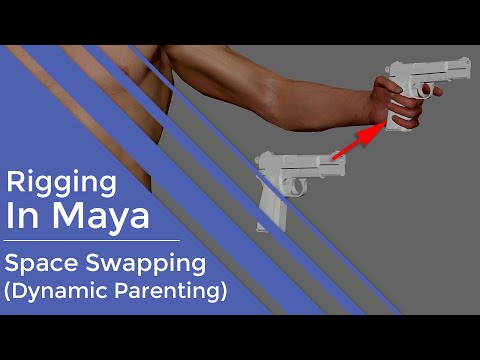
In this video I want to talk about space swapping, or switching depending on what you like to call it, and how it’s a fundamental part of any rig. I also want to show you a few ways to approach adding this functionality into your rig.
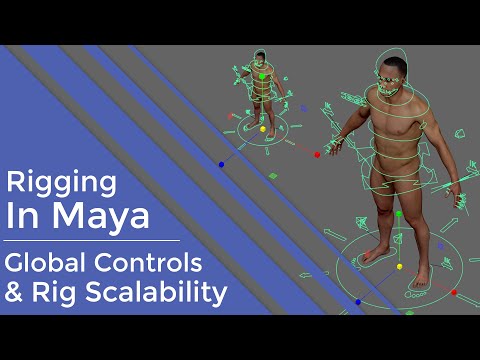
We’ve come a long way, so thanks for sticking with me. What we are going to do in this video is finalise the rig you’ve built over the past sixteen videos, giving the animator the ability to move it globally while also adding letting them scale him fully too.
We will also investigate locking the rig down, making it bulletproof so the animator can’t accidentally break it, which is an important step.
Now this may be the last time we look at this guy here, and I’m sure some of you are sick of seeing him, I know I am! I started this series a year ago now, so I’m looking forward to moving onto another character and sharing some more advanced techniques with you in the future.
Ok, lets finish this rig!

