Make sure you download the source files so you can follow along.
Over the duration of this course, I will walk you through the process of creating a realtime rig, which can be animated and exported to a game engine, like unreal.
We will take a prebuilt model, and explore the fundamentals of model preparation, joints and skeleton building before we move on to skinning and painting weights. After that we will focus on creating the controls and systems which will allow the animator to breathe life into him.
What is more, where possible, we will also be building this rig using Mayas new offset parent matrix attributes and matrix nodes to make it more robust and efficient.
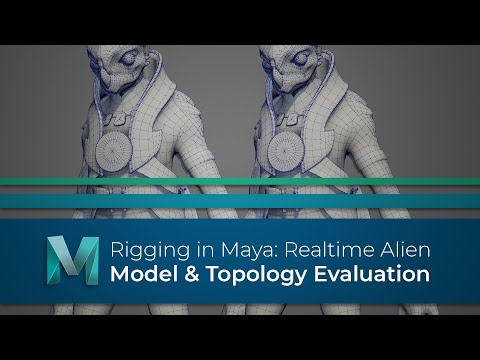
Before you start any rigging work it’s important that you examine the model thoroughly to make sure the topology will deform correctly, so in this video we will examine our creature model and discuss what areas need to be updated.
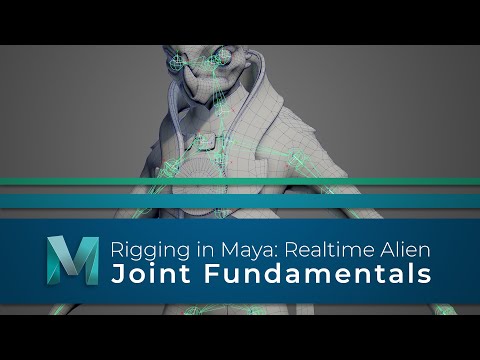
It’s important to get a good understanding of how joints work in Maya and realise that there is a lot more to them than nodes which push the vertices around. So, before we start to build the skeleton which will drive our model, lets look at the fundamentals of Maya’s joints.
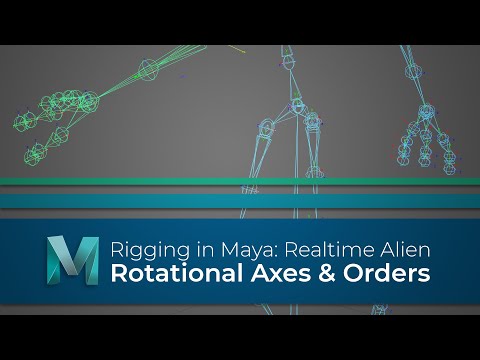
You now have one half of the skeleton built and positioned, but we aren’t ready to skin the models just yet. In this video we are going to make sure the rotational axes and rotate #orders are all setup and once they are, we can then safely move on and look at making this skeleton drive the creature model.
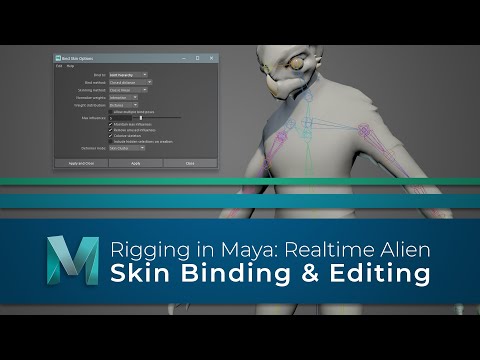
You now have the skeleton ready so let’s look at making it drive the model. In this video we will explore Maya’s skin binding options, as well as looking at how you can edit the weights once the model is skinned.
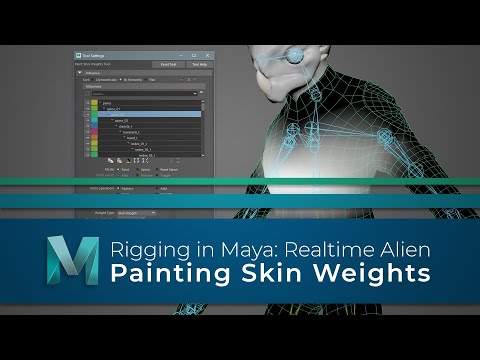
We have the skeleton, and the model is now skinned, so next let’s take a look at updating the skin weights, so it deforms in a much more natural way.
The model now deforms with the skeleton, which will allow us to visualize how the controls are affecting the joints as we build the control rig.
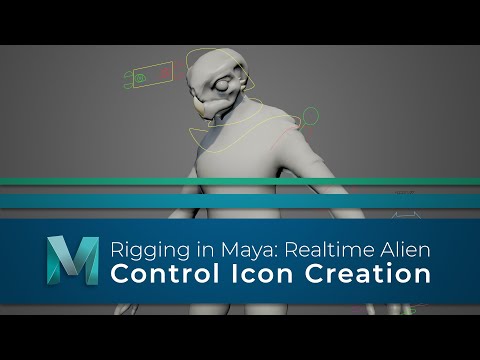
Ideally, we don’t want the animator to be able to touch this skeleton though, instead we need a layer of controls on top of this which will drive the joints.
So, in this video we will explore the many options Maya has to create controls.

We have the controls now so we are a step closer to being able to build the systems which will drive the joints.
Before we do that, we are going to make sure the scene is organised correctly and that the controls have the custom attributes we need.
It’s about time we started to tackle some of the systems which the controls will drive.
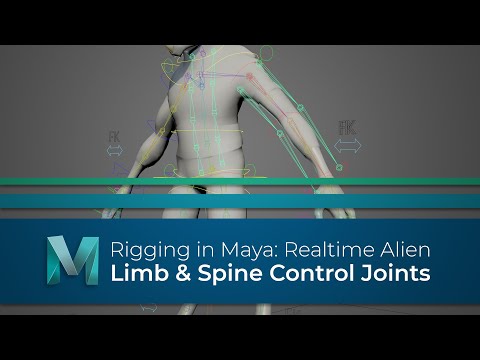
As this is a game rig, we want the base skeleton to be left as clean as possible so what we are going to do next is create a series of control joints. These will give us a cleaner rig, especially when it comes to exporting.
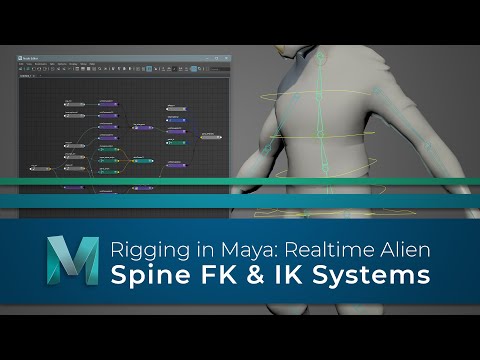
We have the controls, and the control joints are in place, so let’s build the main spine rig.
For this character we are going to give the animator both IK and an FK controls, but with the IK spine we are going to use spline IK.

With the spine rigged it makes sense for us to continue working our way up and rig the neck, head and #eyes.
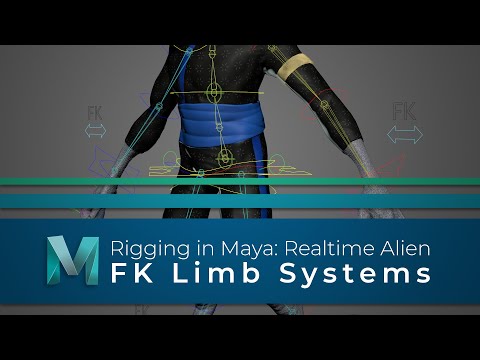
Now the spine head and neck are rigged let’s turn our attention to the limbs and first we are going to wire up the FK #controls.

The FK limbs are now working so the animator can pose and animate the creature using forward kinematics.
What we are going to do next is also give them the option to work in IK, or inverse kinematics.
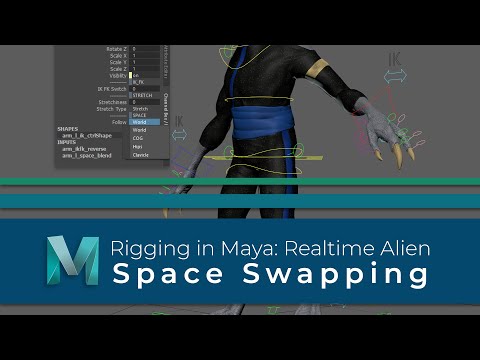
The arms, legs and torso are now rigged but before we move on we are going to look into some space swapping options. We will use Maya’s matrix nodes to add the option to swap between two parents, and also multiple parents.
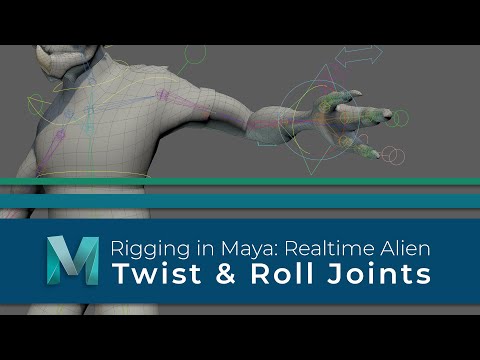
We have the limbs rigged and have also added in some space swapping options to give the animator more flexibility. Lets turn our attention now to the twist joints which will help improve the deformation in our limbs.

We have just a few more areas to cover before this rig can be passed to an animator, and one of the more important is the foot.
So, in this video we are going to add more functionality so poses are easily achievable.

We now only have two more areas to rig before the main creature rig is built, and those are the clavicles and fingers.
We are slowly getting closer to a complete rig, and in its current state we could pass this onto an animator, and they can begin to bring life to this creature.
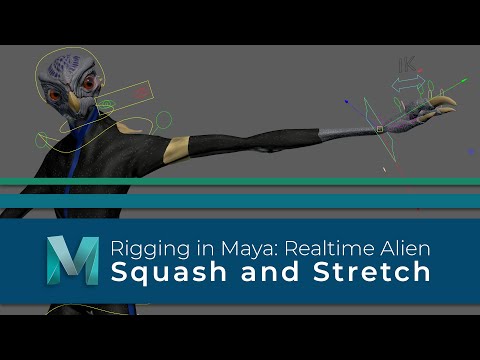
However, before we do, we are going to do is add in some extra functionality by making the characters limbs and torso more flexible, with some squash and stretch.
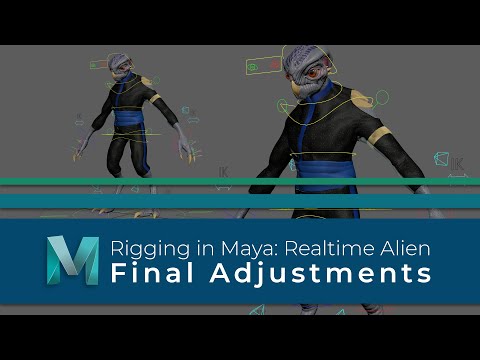
Ok, here we go, this may be the final video, but it could also be one of the most important with regards to making the rig animator friendly.
We have all the main controls in and working now, but before we pass it on to be animated we have to make sure the rig is #scalable and also lock everything down so it can’t be broken.

