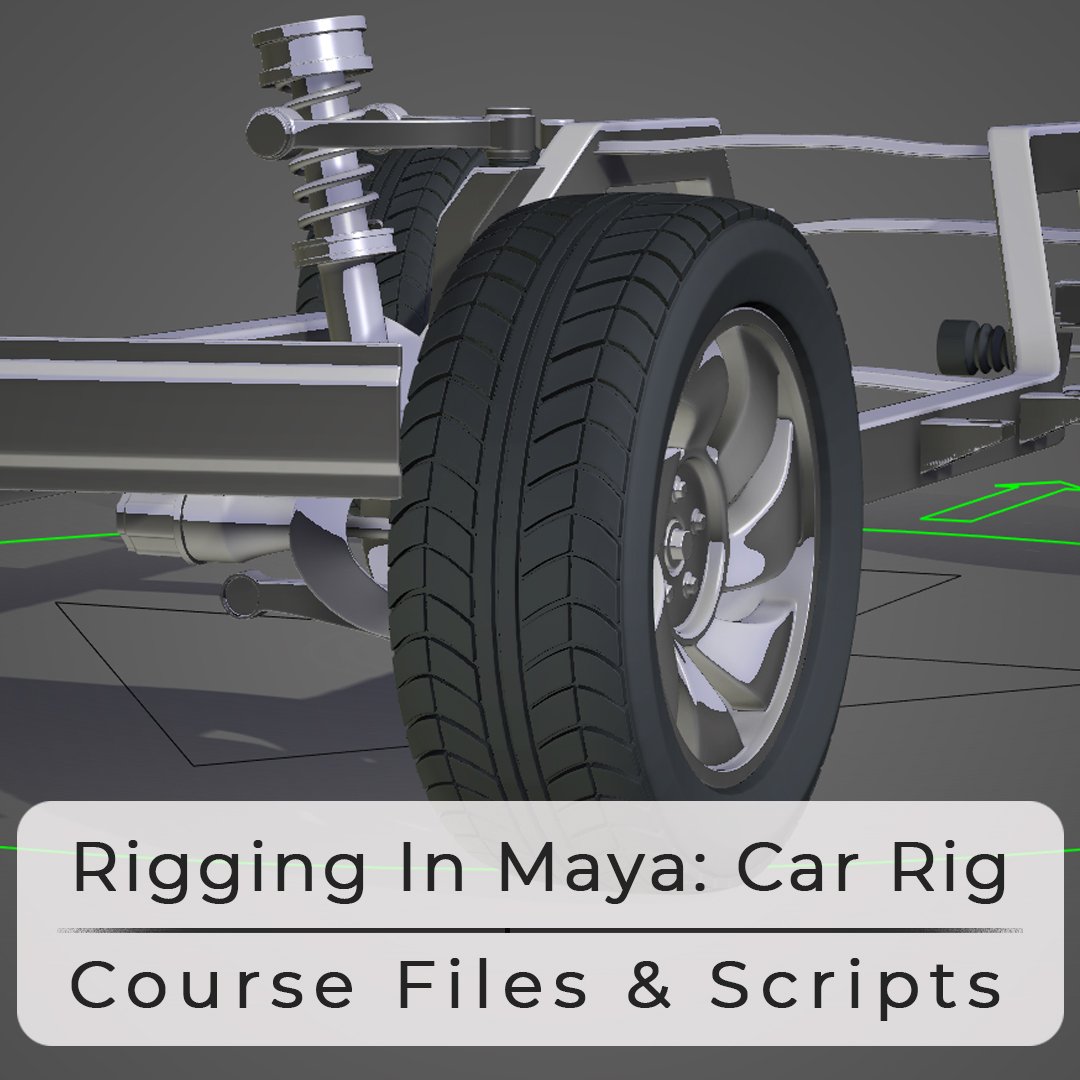
Make the most of these tutorials with the source files and scripts.


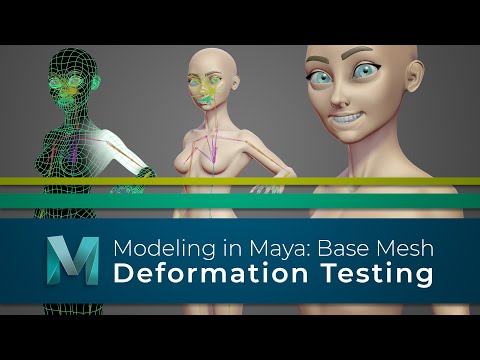
Modeling In Maya
Featured

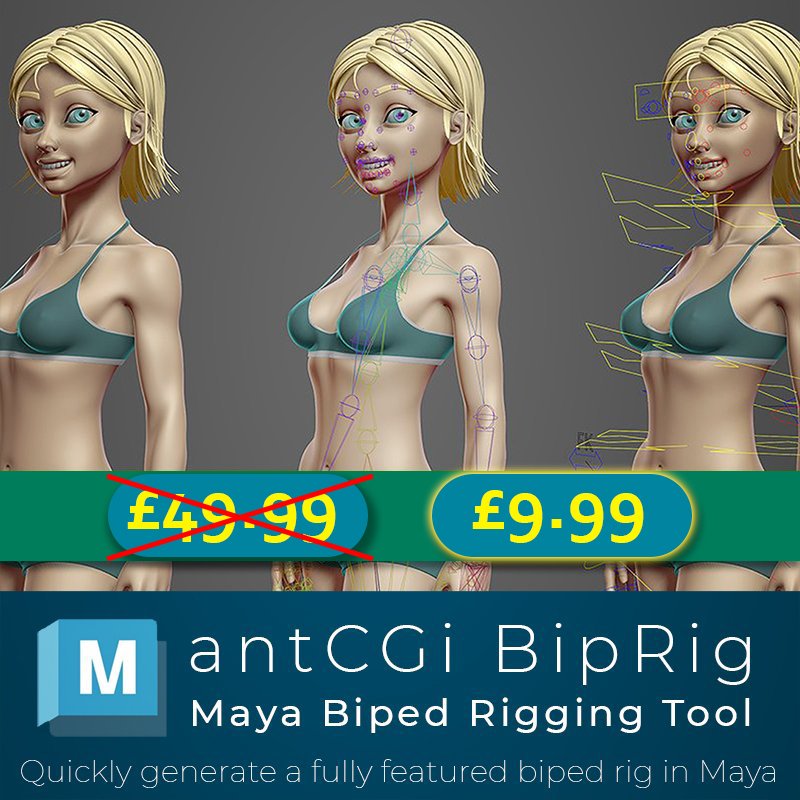
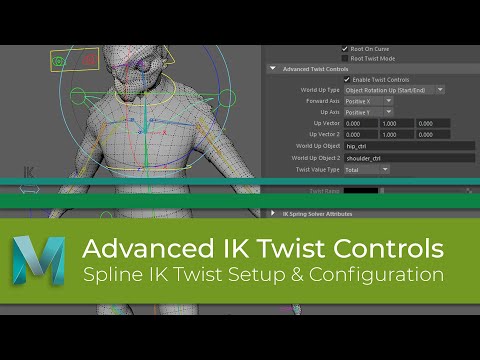
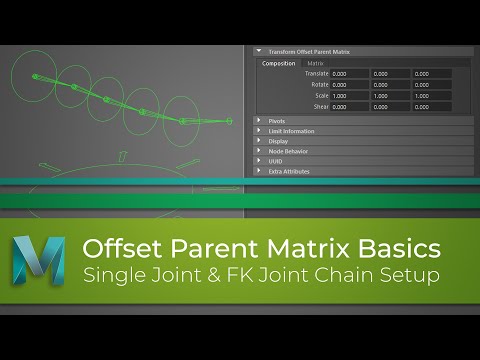
Rigging In Maya
Featured

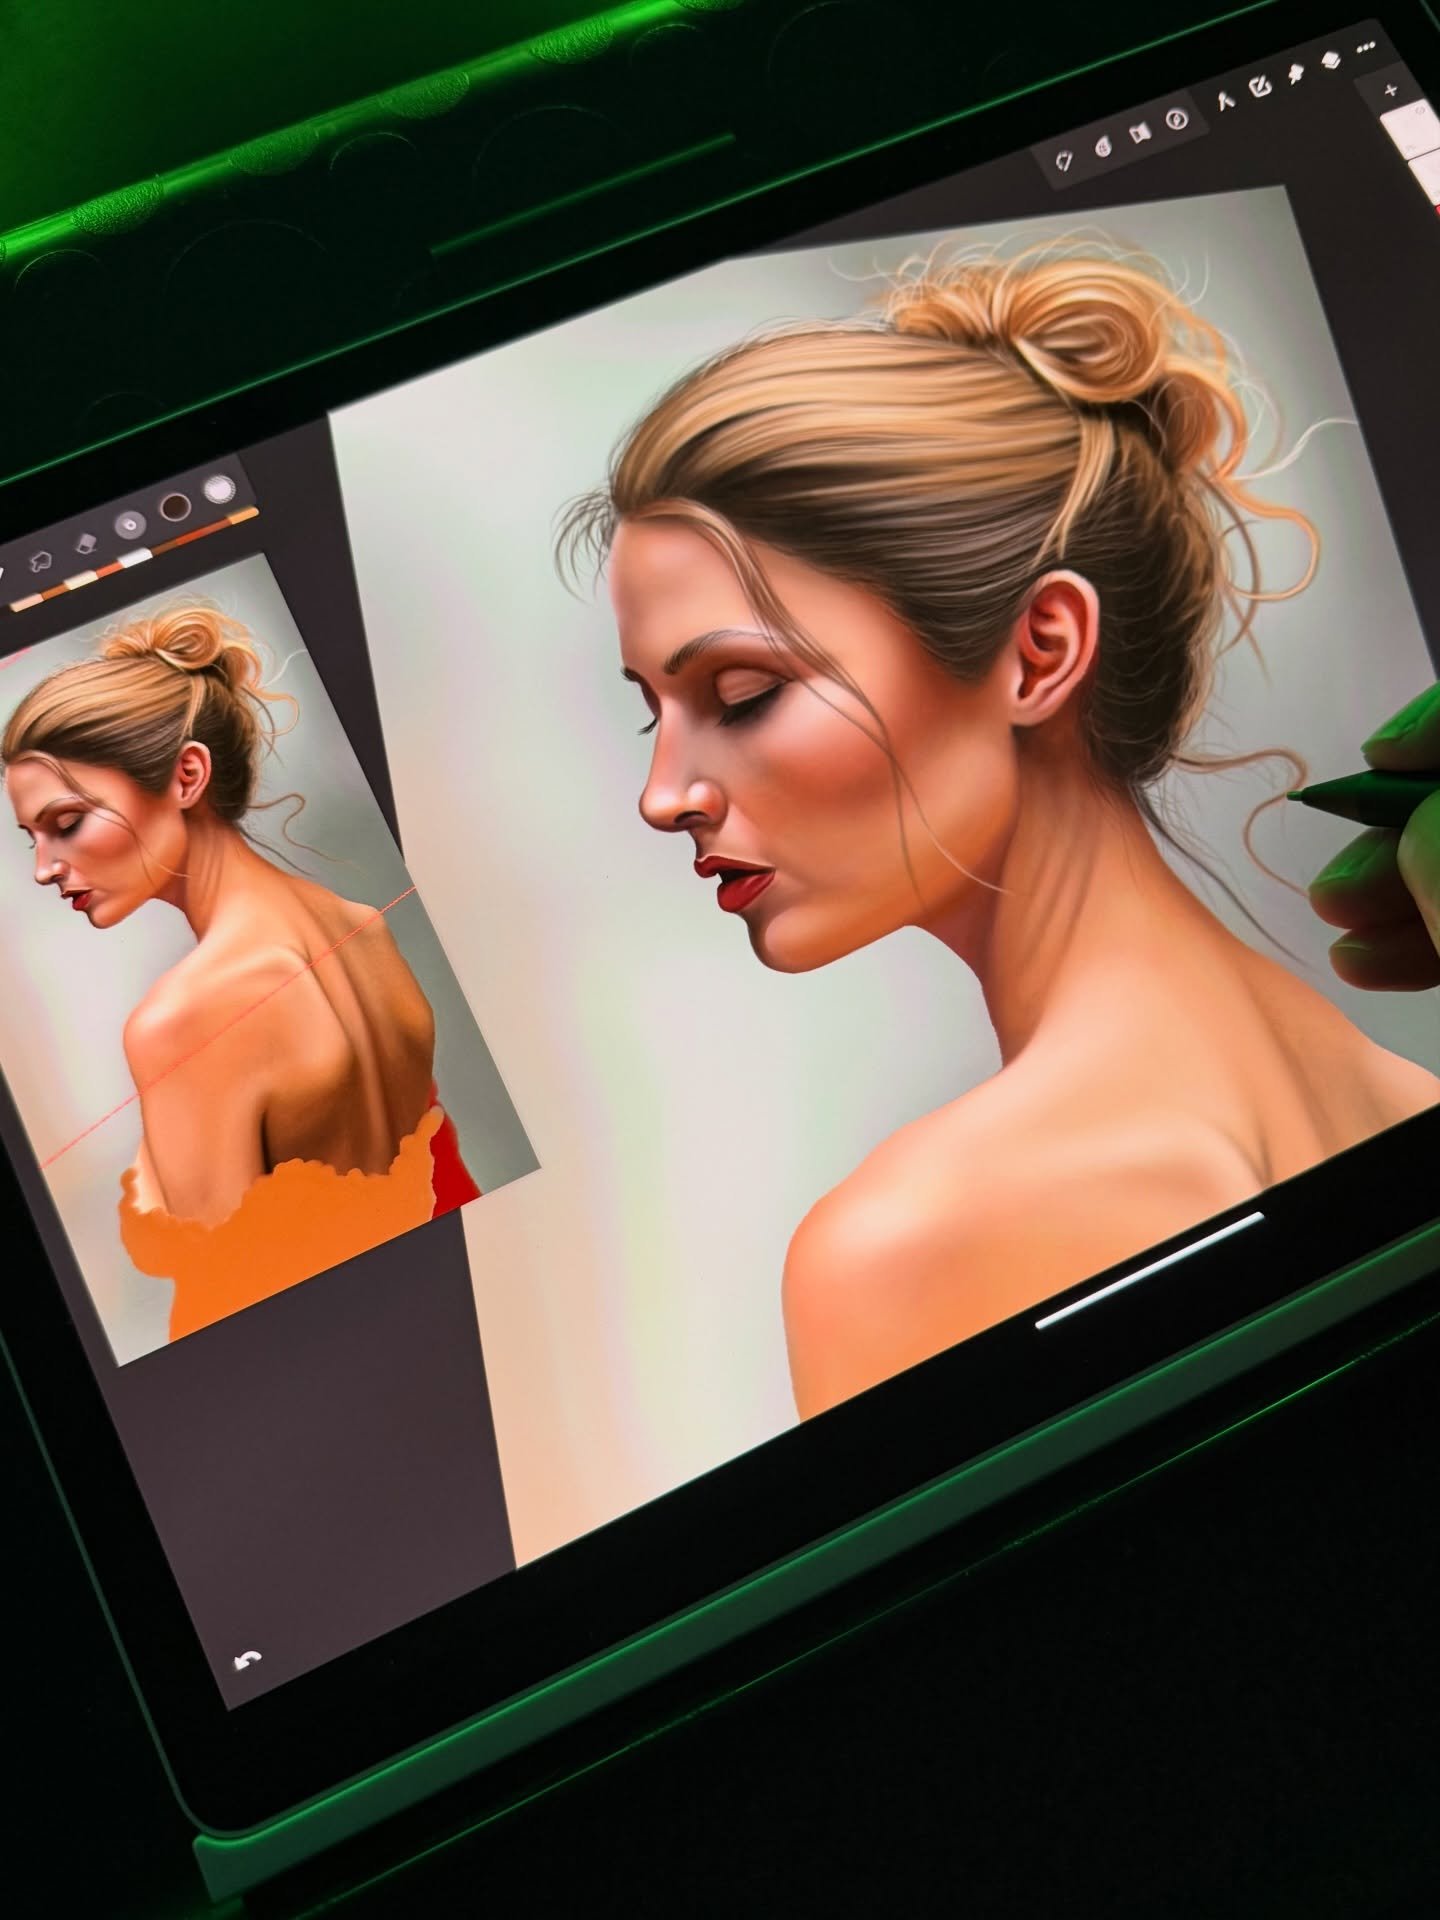
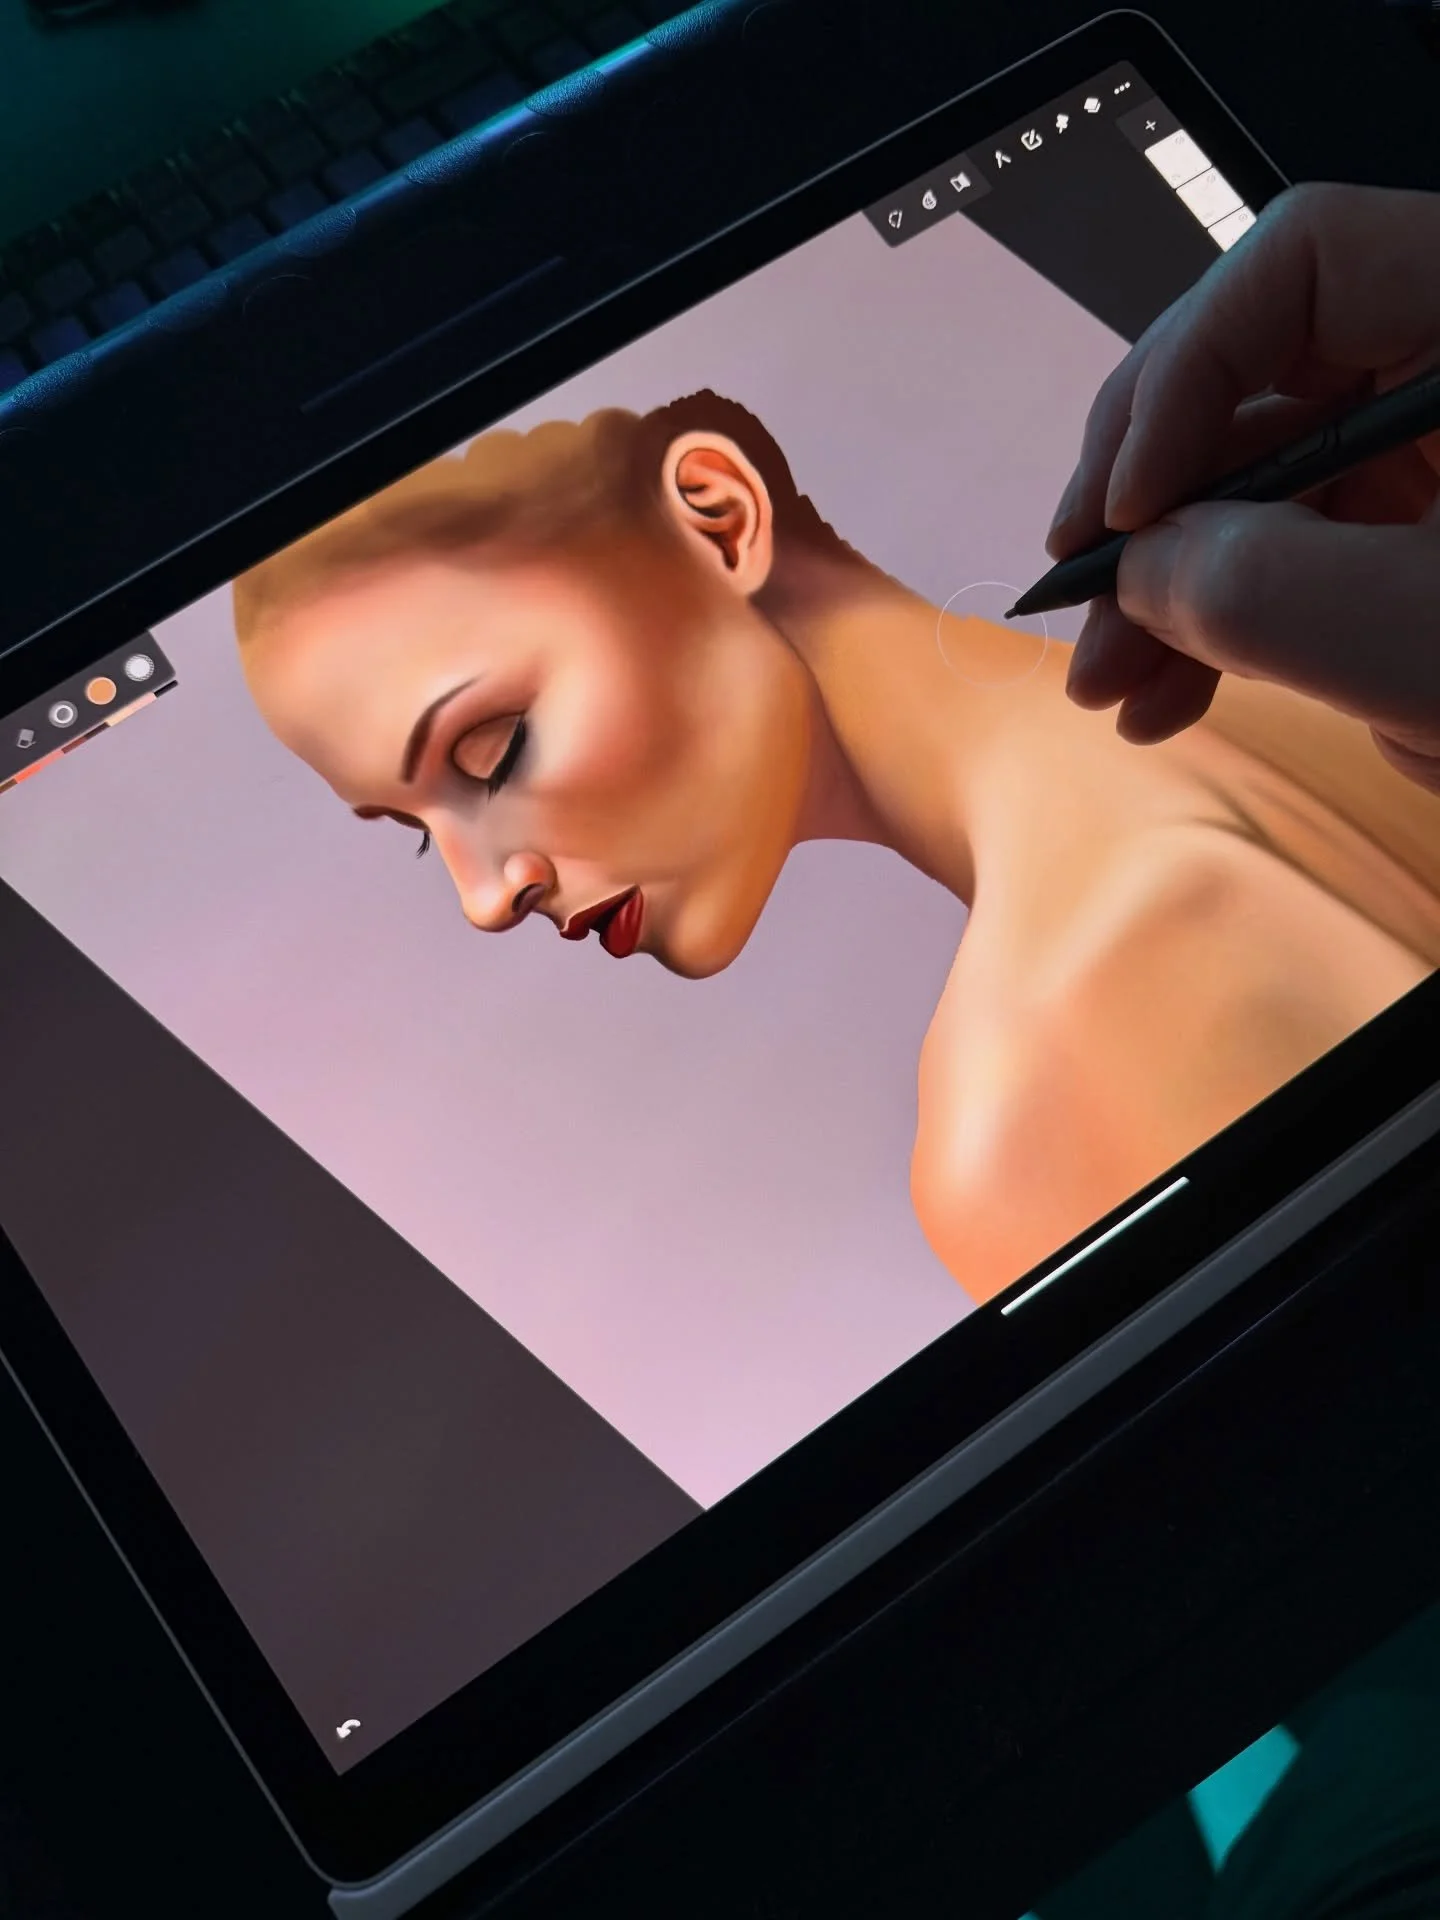
Painting
Featured


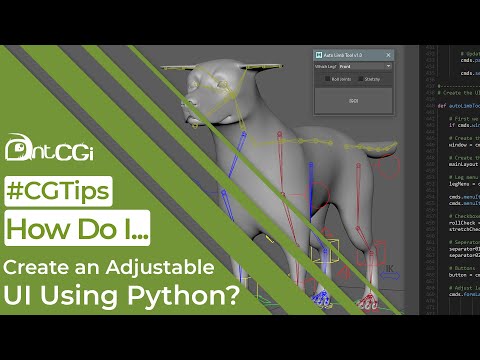
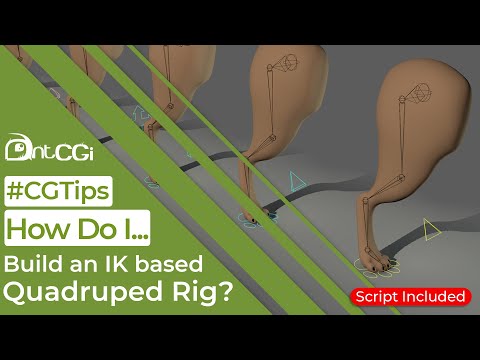
#CGTips - Recent Releases
Introduction To Python
Other Tutorials
Written Tutorials


Pluralsight (Digital Tutors)
Modeling a Cowgirl Character in Maya and Silo
Understanding the Basics of nHair in Maya
Creating a Detailed Dress in Marvelous Designer
Creating a Transformable Flying Car in Maya and Silo
Creating Secondary Animation Using Dynamics in Maya
Getting Started with Sculpting in Silo
Adding Dynamics to a Mermaid Animation with Bifrost in Maya