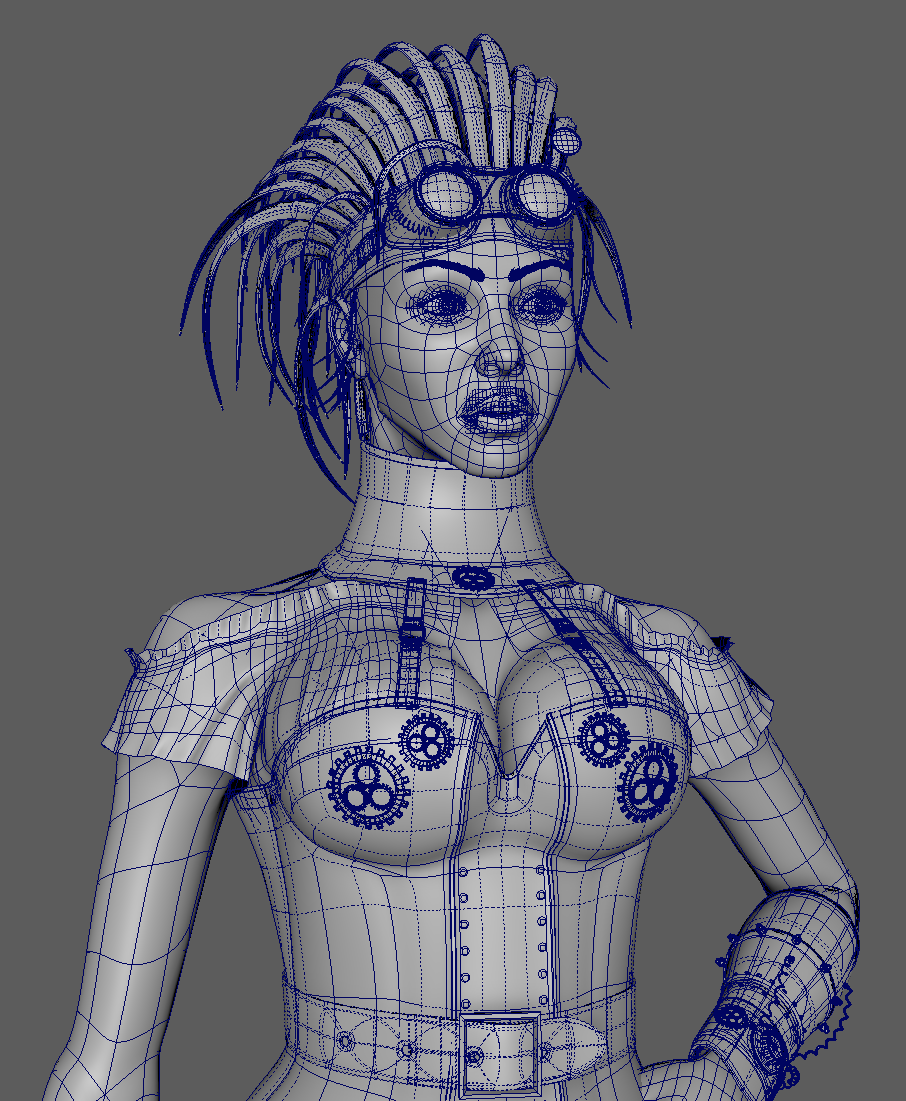
Steam Punk Portrait
Maya used to be the last application I would use for modelling. If you have followed me and my work you will know I used to be a huge Silo fan, and still am if I am honest.
The truth was that building anything in Maya was a laboured experience. Rather than being a fluid workflow you would end up menu hoping. Working was more like clunk, clunk, clunk than a seamless and enjoyable process.
Thankfully the past few years have seen Autodesk start to address this issue and slowly with each new release the modelling tools have been dramatically improved to the point where I now model in it almost exclusively. In addition to this all the key tools can now be found in the marking menus meaning you can access them quickly and easily, speeding up the time it takes to create.
Don’t get me wrong there are still issues, annoying things which should have been obvious to fix. The symmetry system for example was something which felt half implemented with some tools not recognised when symmetrical modelling was enabled and others just not working as expected.
Recently Autodesk released Maya 2016 Extension 2 and with it came a whole host of new modelling fixes and enhancements. So with this tutorial I wanted to put these tools to the test and build a steam punk inspired portrait, from scratch, to see just how well they hold up.