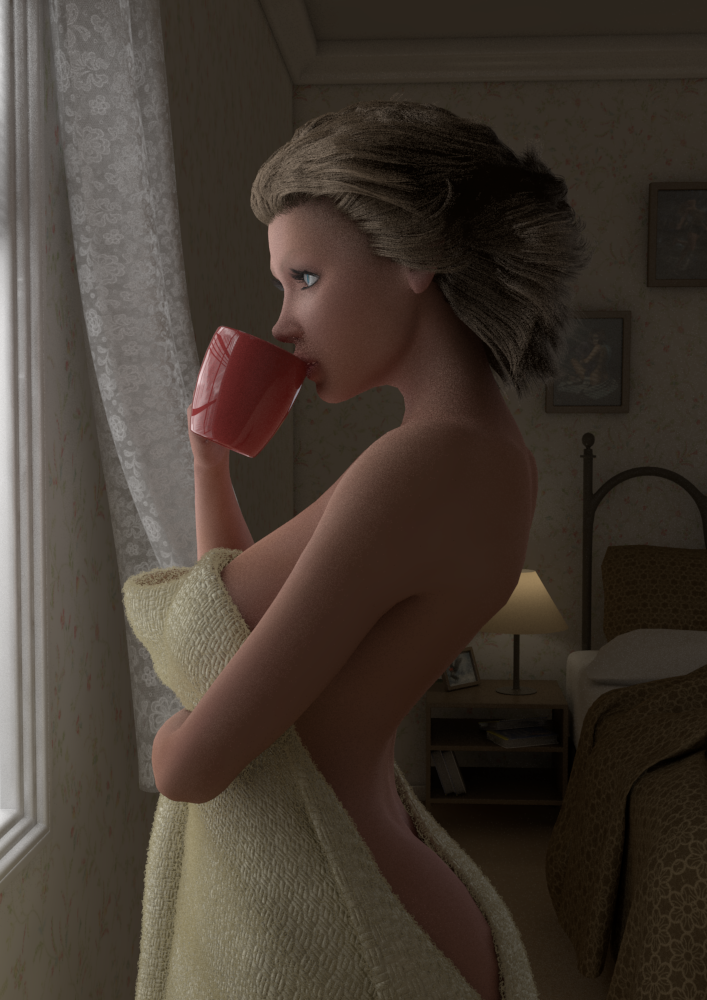
Awake
For a long time now I’ve been stuck in a rut with my work. Not with creating the models or scenes, I’m always happy with those. Where the problem lies is with rendering.
I’ve been using Maya for over fifteen years now and in all that time my final renders have always been generated using Mental Ray. It made sense to use it, it comes with Maya, works well and doesn’t cost any extra to use, so why look elsewhere? Yes, it did the job and for the most part I was happy, but there was always something lacking, something that just didn’t look right.
I put this down to my own skills not being up to scratch and that’s probably partly the problem, so I continued on, pushing myself as an artist. That was until this year. This year I decided to break away from tradition and experiment with another renderer; V-Ray.
After using it for just a few weeks I can admit I was impressed. I already feel like I have more control over my renders and they are much closer to how I imagined, with a lot less work involved.
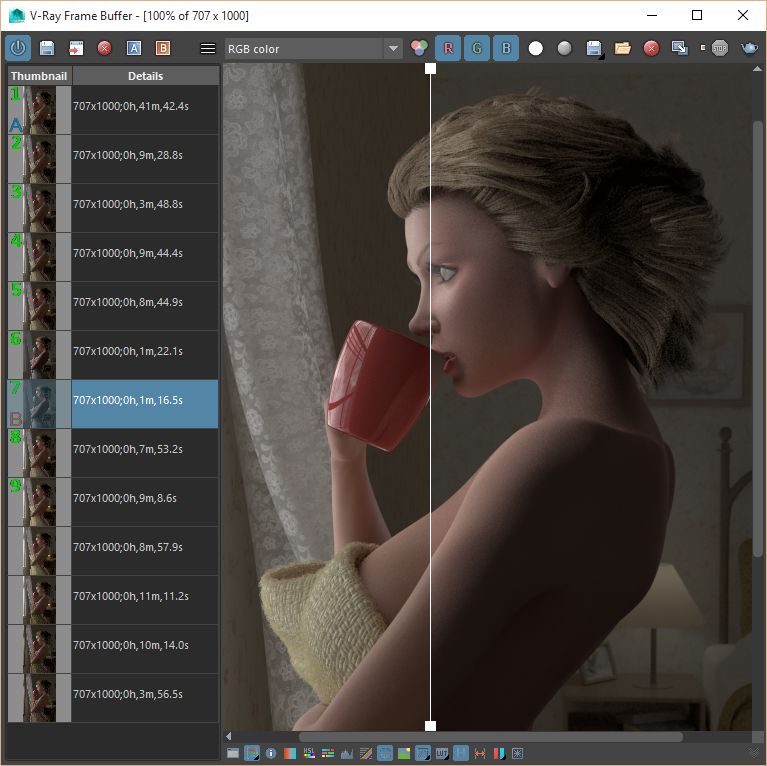
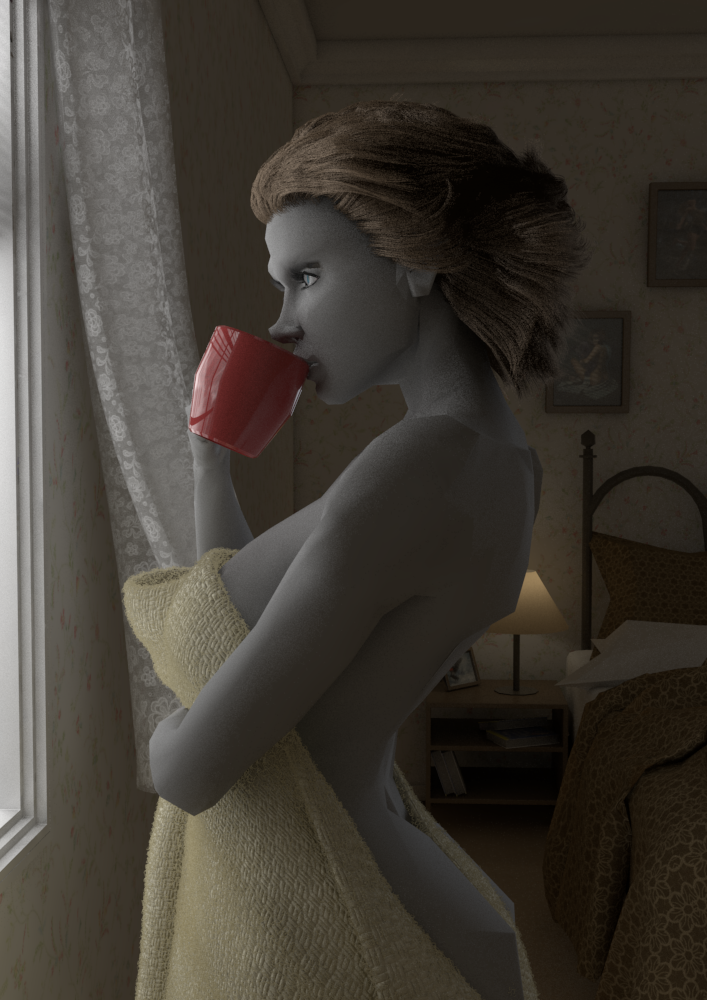
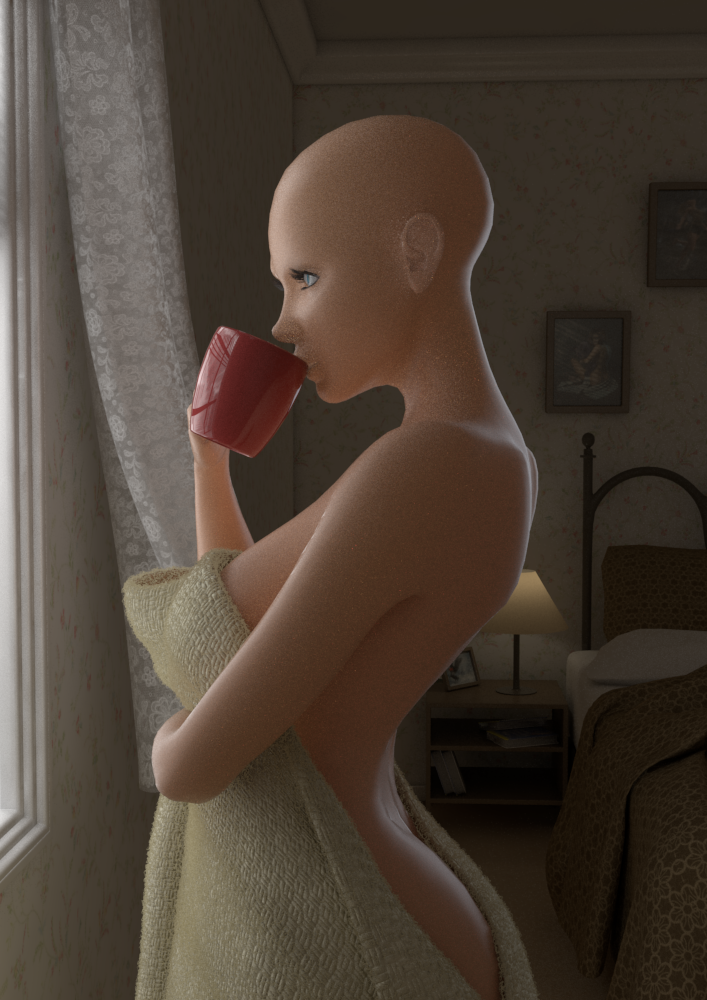
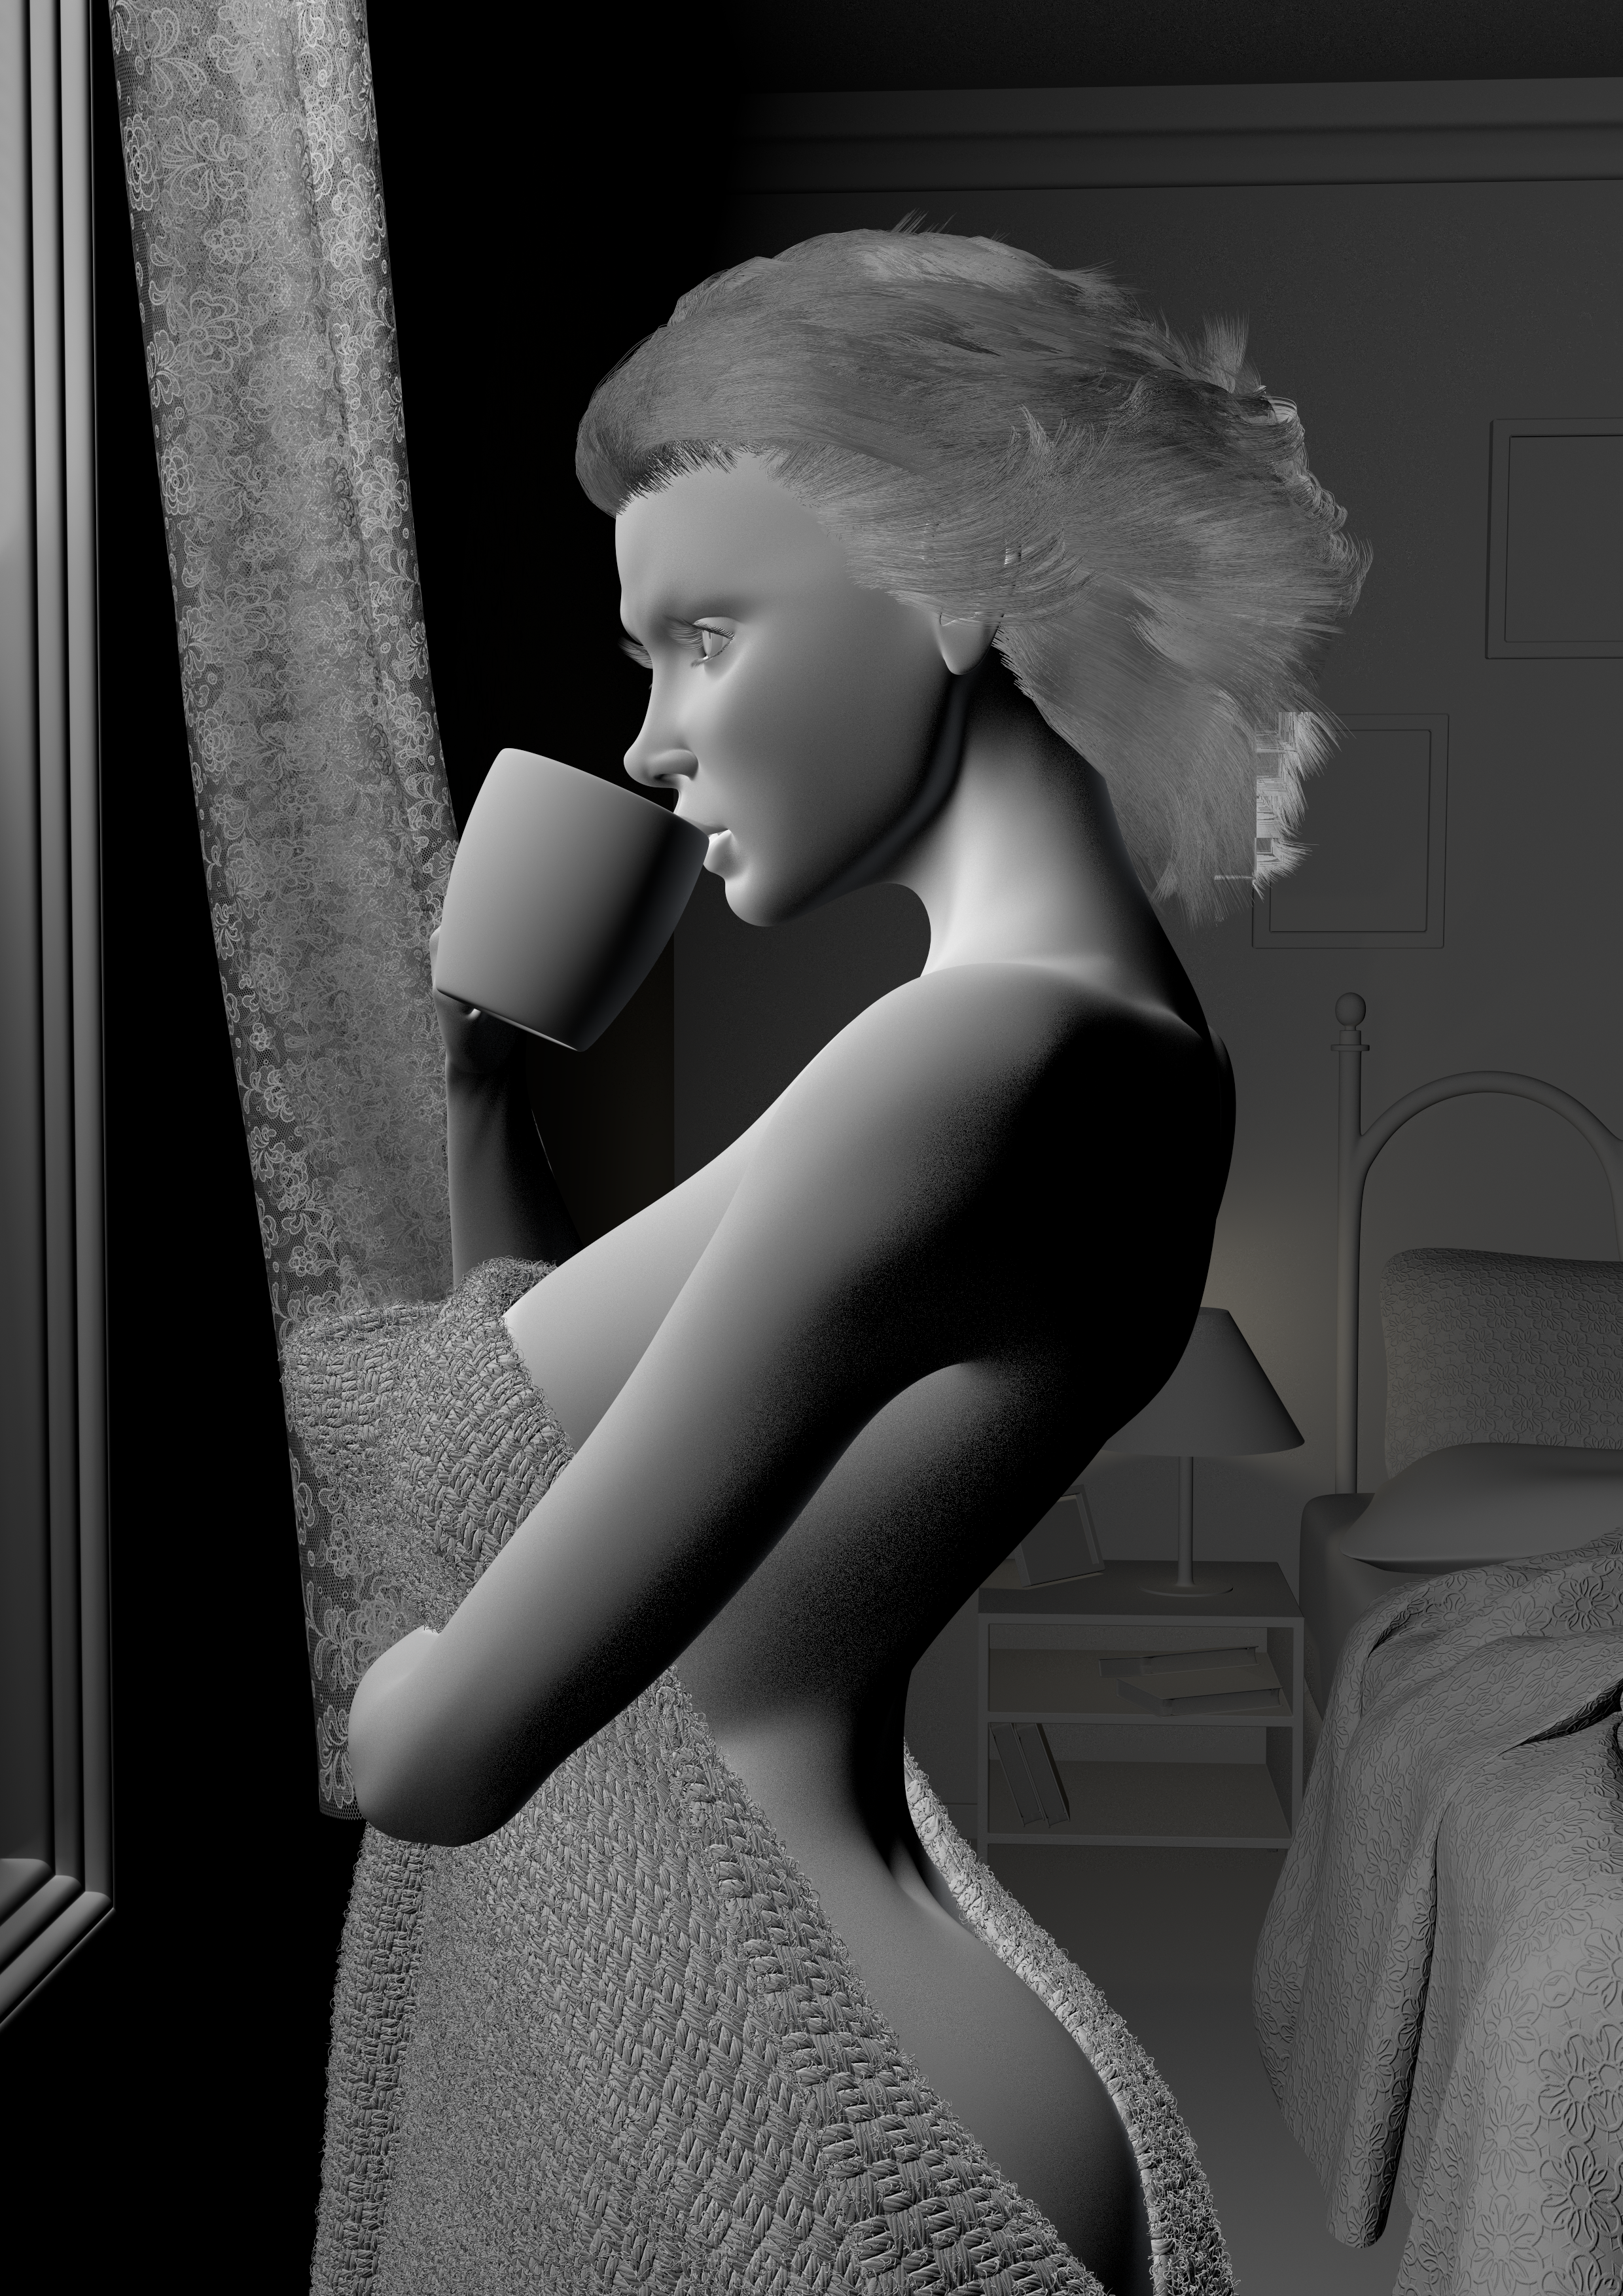
So what I want to do with this tutorial is talk you through the creation of my latest image, and in doing so show you how to get to grips with V-Ray and in particular its VRaySkinMtl shader.