Modeling Workshops & Tutorials
Make sure you download the source files so you can follow along.

Make sure you download the source files so you can follow along.
Hello and welcome to a new series where I explore Modeling In Maya, although to be fair, most of the techniques I will be demonstrating will be easily transferable to other applications.
Just like with my rigging in maya series, the plan is to take things back to basics as I go through each element separately, so you get a clearer understanding of the whole modeling process.
Once the fundamentals have been covered, I will then walk you through the process of building a #basemesh which we will then turn into a fully-fledged character, one which we will then use as the basis for future rigging courses.
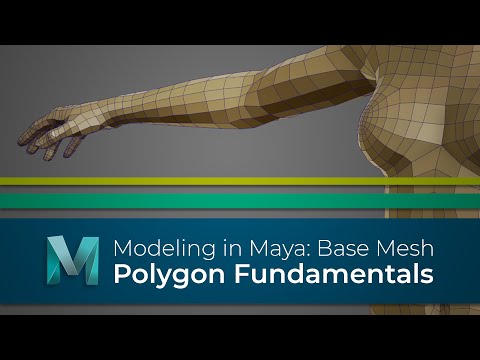
So now we have a basic understanding of polygons and the different ways we can use them, we are ready to start looking at building our character.
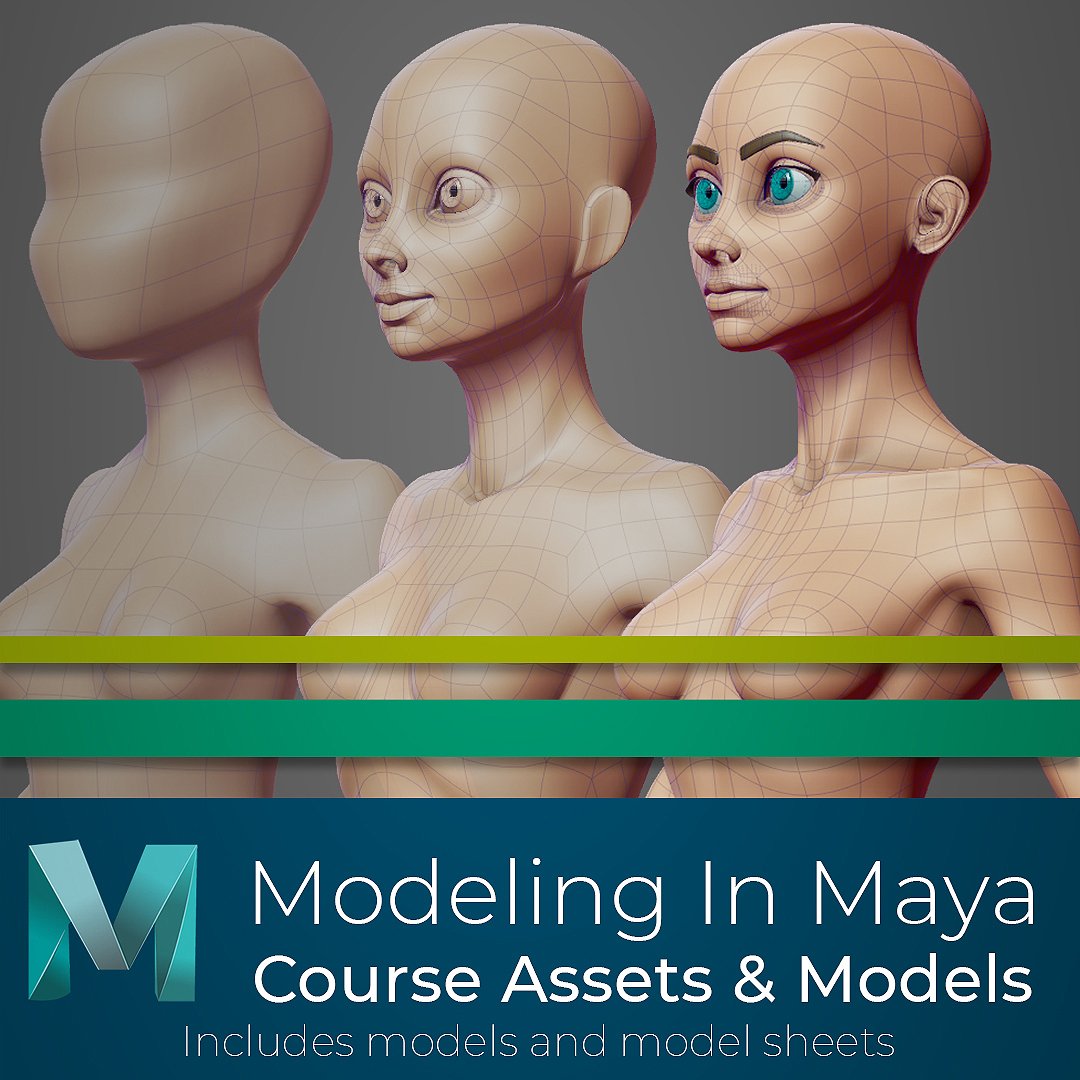
We have the two model sheets, or turnarounds as they are also known, and these will help to guide us as we create our base mesh, and then the succubus.
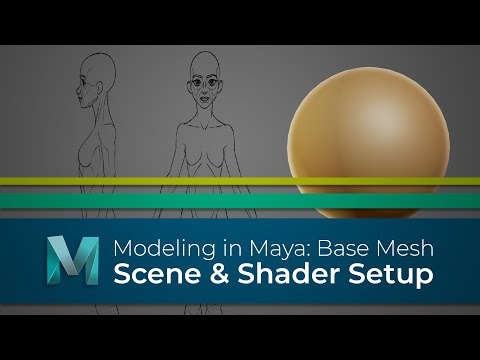
Now we have those to guide us we can start to setup the scene, and that’s what we will focus on in this video.
We have the scene setup, plus we have some basic lighting and an improved shader we can use when sending screen shots to our client.
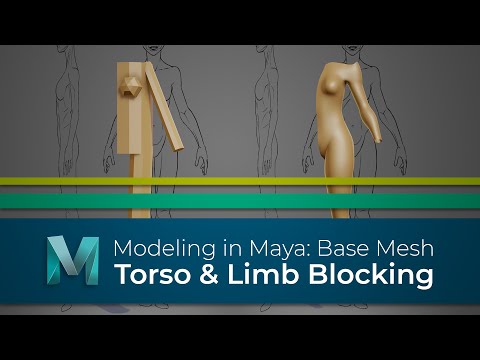
So in this video we will start modelling, and the first stage is to block out the basic female form.
Now we won’t be focusing on any details at this stage, instead we just want the foundations which we can gradually build upon so in this video we will block out her torso, chest and limbs before working on her hands feet and head in video four.
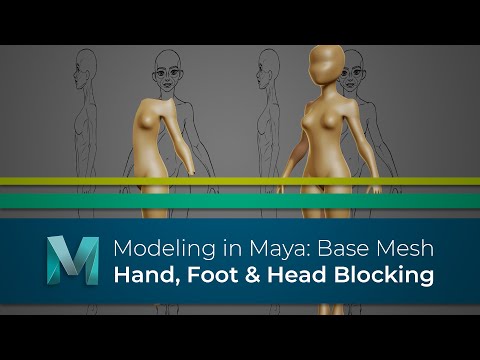
All we are going to do in this video is continue on from the previous one as we work on the foundations for our base mesh.
We had half the torso, one arm and a basic leg built so lets look at expanding upon that with the head, hands and feet.
What we have now is a very basic mannequin style model, but this has given us a great starting point for this base mesh.
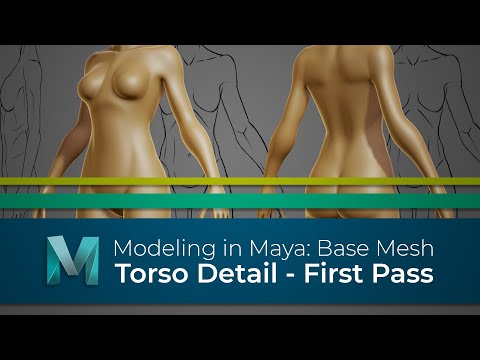
What we are going to do now is start to add more details to the model, this will help to define the anatomy while also making her better suited for rigging and animation.
So in this video lets begin working more on her torso.
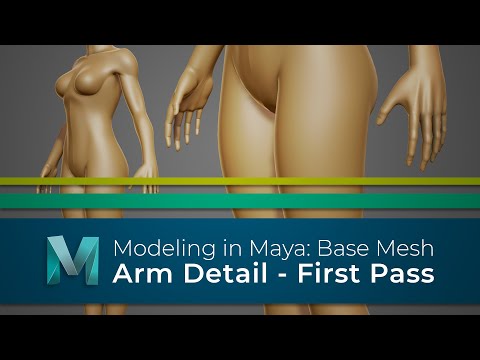
What we are going to do in this video is continue working on the first detail pass on our base mesh.
The focus this time will be adding more definition to the arms, as well as building a detailed hand and fingers.
We now have the first detail pass done on the torso and arms, plus we have fingers.
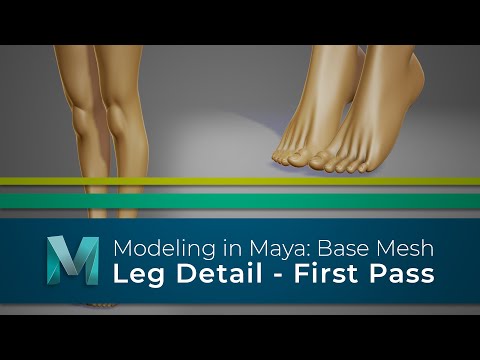
So let’s now turn our attention to the legs and the feet, and I think we will go a step further and also give her toes too.
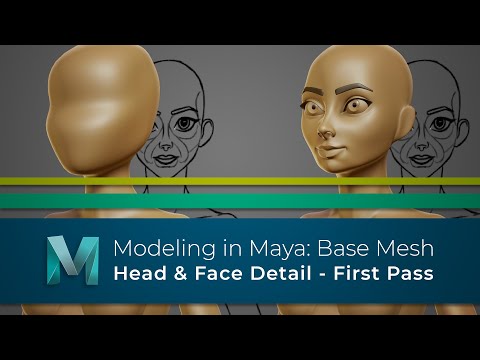
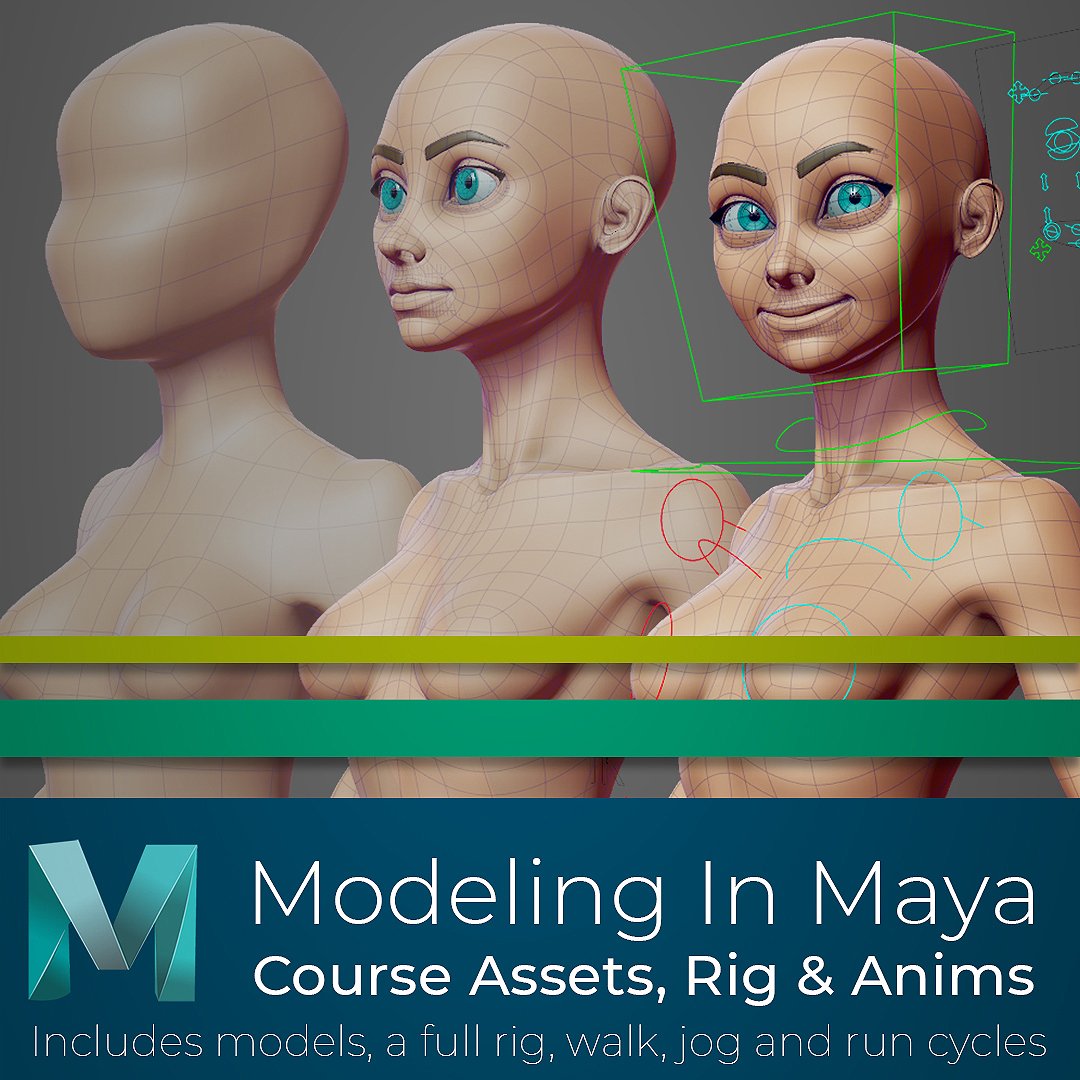
The first pass is now complete on the body but she still has no facial features, so in this video we will rectify that and give her some eyes, a nose and a mouth.

We now have the first pass done on the body, head and face. We've also made a good start on the hands and feet, so much so that I think all we need to do in those areas is clean up the topology and work on the shape.
At this stage we get to take a step back and look at the body as a whole before going in and working on the second detail pass.
The main body model is almost complete, but before we move on and test how it deforms, we are going to take a break and work on some of the extra elements we will need.
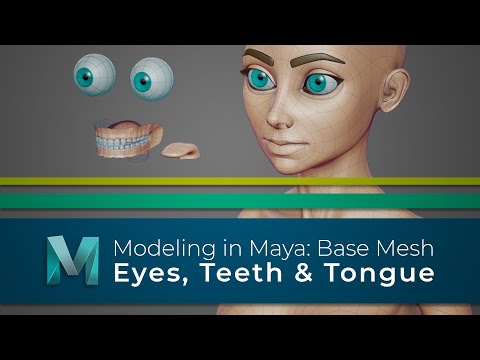
So in this video we will build her eyes, teeth and tongue.
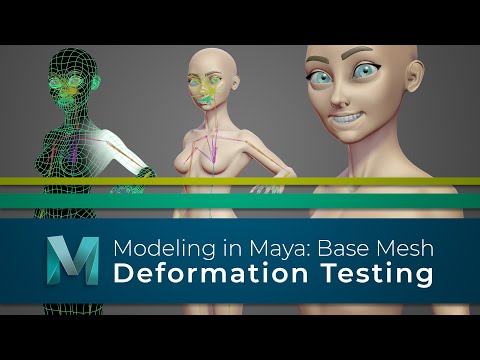
At this stage the model is complete, but as she is intended for animation it would be a good idea to test how she deforms and update the topology where needed.
Now, we have kept this in mind as we worked, but its still worth spending some time to make sure, before it is passed on to be textured.
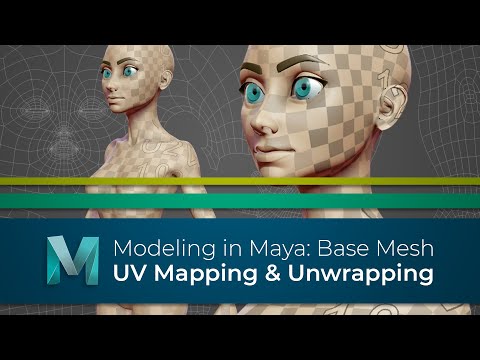
Your base mesh is complete, so in this bonus video I wanted to walk through my process for UV mapping her, making the model ready to be textured.